
Okay, friends, let me tell you about a dessert that just screams sunshine and happiness: Key Lime Cheesecake! Seriously, this isn’t just any cheesecake; it’s that perfect balance of zesty tang and creamy sweetness that makes your taste buds sing. I’ve been making this Key Lime Cheesecake for years for everything from casual potlucks to fancy holiday dinners, and without fail, it’s always the first thing to disappear. People rave about how vibrant the flavor is and how incredibly smooth and rich the texture is. The best part? It looks super impressive, but it’s actually way easier to make than you might think. If you’ve been looking for a showstopper dessert that’s guaranteed to get compliments, you’ve found it right here. Get ready to fall in love with this tangy delight!

Why You’ll Love This Key Lime Cheesecake
Okay, so why *this* Key Lime Cheesecake? Because it’s just… perfect! Seriously. Here’s the lowdown on why this recipe will become your new favorite:
- Seriously Vibrant Flavor: We’re talking real key lime punch here, balanced beautifully with that sweet creaminess. It’s bright, it’s zesty, and it’s completely addictive.
- Dreamy, Creamy Texture: This cheesecake is smooth as silk! No weird lumps or graininess, just pure, melt-in-your-mouth goodness.
- Looks Fancy, Is Easy: You’ll feel like a total pro when you bring this out, but the steps are straightforward. No crazy techniques needed!
- That Perfect Tart-Sweet Dance: It’s not too sweet, not too tart. This recipe nails that essential balance that makes Key Lime Cheesecake so special.
Trust me, once you try a bite, you’ll understand!
Gathering Your Ingredients for Key Lime Cheesecake
Alright, let’s talk ingredients! Like with anything I bake, starting with good stuff makes *all* the difference. For this incredible Key Lime Cheesecake, you really want to grab the best you can find. Don’t worry, it’s all pretty standard, but quality matters here. Below is exactly what you’ll need to get started!
Graham Cracker Crust Ingredients
For that perfect buttery base that holds everything together, you’ll need:
- 1 1/2 cups graham cracker crumbs (about 10-12 full sheets)
- 1/2 cup unsalted butter, *melted* (make sure it’s fully melted!)
- 1/4 cup granulated sugar
Creamy Key Lime Cheesecake Filling Ingredients
This is where the magic happens! Get ready for that tangy, smooth filling:
- 3 (8 ounce) packages cream cheese, *softened* (seriously, let this sit out!)
- 1 (14 ounce) can sweetened condensed milk (the thick, syrupy stuff!)
- 1/2 cup *fresh* key lime juice (this is non-negotiable for that real flavor!)
- 1 teaspoon vanilla extract
- 1/4 teaspoon salt
Whipped Cream Topping Ingredients
Because every great cheesecake deserves a fluffy cloud on top!
- 1 cup heavy cream (the cold stuff from the dairy section!)
- 2 tablespoons powdered sugar
Equipment for Making Key Lime Cheesecake
Okay, before we dive into mixing, let’s make sure you have the right tools! You don’t need anything super fancy, but a few key pieces of equipment will make making this Key Lime Cheesecake a breeze.
- A good quality 9-inch springform pan is essential for that classic cheesecake shape.
- You’ll definitely need a couple of mixing bowls – one for the crust and one for the glorious filling.
- And finally, either a hand mixer or a stand mixer is going to be your best friend for getting that cream cheese filling perfectly smooth and lump-free!
Step-by-Step How to Prepare Key Lime Cheesecake
Alright, deep breath! Making this Key Lime Cheesecake is totally doable, I promise. We’re going to break it down into simple steps. Just follow along, and you’ll have a stunning cheesecake ready to chill. Let’s get baking!
Preparing the Perfect Graham Cracker Crust for Your Key Lime Cheesecake
First things first, that crust! Preheat your oven to 350°F (175°C). Grab your 9-inch springform pan and give it a little grease – this helps later. In a bowl, stir together those graham cracker crumbs, melted butter, and sugar until it looks like wet sand. Now, press that mixture *firmly* into the bottom and a little bit up the sides of your pan. Get it nice and packed! Pop it in the oven for about 10 minutes. When it comes out, let it cool completely on a wire rack.
Crafting the Creamy Key Lime Cheesecake Filling
Here comes the star of the show! Get a large bowl and your mixer. Beat that softened cream cheese until it’s super smooth – no lumps allowed! Gradually pour in the sweetened condensed milk, beating until everything is beautifully combined and creamy. Now, whisk in the key lime juice (smell that zestiness!), vanilla extract, and that pinch of salt. Don’t overmix here, just until everything is just incorporated. Pour this gorgeous, tangy filling right into your cooled graham cracker crust. Give the pan a gentle tap on the counter to level it out and get rid of any air bubbles.
Baking and Cooling Your Key Lime Cheesecake
Okay, time for the oven again! Pop that pan into your preheated 350°F (175°C) oven. You’ll bake it for about 35-40 minutes. How do you know it’s done? The edges should look slightly puffed and set, but the center will still be a little bit jiggly. Don’t overbake, seriously! When it’s ready, take it out and let it cool in the pan on a wire rack for about 15 minutes. Then, carefully run a knife around the edge before releasing the springform side. Let it cool completely at room temp, and then comes the hardest part: refrigerating! It needs at least 4 hours to set up properly, but overnight is truly best. Patience, my friend!
Adding the Finishing Touch to Your Key Lime Cheesecake
When you’re ready to serve this beauty, it’s time for the fluffy cloud! In a clean bowl, beat the cold heavy cream and powdered sugar together until you get nice stiff peaks. You can either spread this over the whole top or pipe little dollops around the edge – whatever makes you happy! Slice it up and enjoy the fruits of your labor!
Tips for Success with Your Key Lime Cheesecake
Okay, you’ve got the steps, but here are a few little tricks I’ve picked up along the way to make sure your Key Lime Cheesecake is absolutely perfect every single time. These simple things can make a big difference!
- Room Temp is Your Friend: Make sure your cream cheese (and even the sweetened condensed milk!) is at room temperature. This is CRUCIAL for getting that super smooth, lump-free filling. Seriously, plan ahead!
- Don’t Overmix the Filling: Once you add the key lime juice, mix just until everything is combined. Overmixing can incorporate too much air and lead to cracks on top. We want smooth sailing!
- Listen to Your Oven (and the Cheesecake!): Ovens can be tricky. Watch the cheesecake, not just the clock. That slightly jiggly center is key! It will finish setting as it cools.
- Cooling is Part of the Process: Don’t rush the cooling! Letting it cool gradually in the pan, then at room temp, and finally in the fridge helps prevent cracks and gives you that gorgeous, dense texture.
- Fresh Key Lime Juice, Please!: I know bottled is convenient, but trust me, the flavor of fresh key lime juice in this cheesecake is SO worth the effort. It’s that vibrant punch you’re looking for!
Variations for Your Key Lime Cheesecake
Okay, this Key Lime Cheesecake recipe is pretty perfect as is, but sometimes it’s fun to play around a little! Here are a couple of easy ways you can switch things up:
- Add Some Zest: For an extra punch of lime flavor, finely grate the zest from a couple of key limes and stir it into the filling right along with the juice. It really brightens things up!
- Try a Different Crust: Not a graham cracker fan? You could totally swap them out for shortbread cookies or even vanilla wafers pulsed into fine crumbs. Just follow the same method with the melted butter and sugar.
- Toasted Coconut Topping: Instead of just whipped cream, toast some shredded coconut until it’s golden brown and sprinkle it over the top before serving. Key lime and coconut are best friends!
Have fun experimenting! Let me know if you try any other fun twists!
Frequently Asked Questions About Key Lime Cheesecake
Okay, I get lots of questions when I share this Key Lime Cheesecake recipe! Here are some of the most common ones, hopefully, they help you out too:
Q: Can I use regular lime juice instead of key lime juice?
A: You *can*, but the flavor will be different. Key limes have a unique tartness and aroma that really makes this cheesecake special. Regular lime juice is more acidic and not quite the same. If you can find key limes, use them! If not, bottled key lime juice is a decent alternative, but fresh is king for that bright, authentic flavor.
Q: My cheesecake cracked! What happened?
A: Oh no! Cracks are usually caused by overbaking or cooling too quickly. Remember, the center should be a little jiggly when you take it out. Also, letting it cool gradually (in the pan, then on the counter, then in the fridge) helps prevent temperature shock. Don’t worry too much though, a crack just means more room for whipped cream!
Q: How long does Key Lime Cheesecake last in the fridge?
A: This Key Lime Cheesecake will keep beautifully in the refrigerator for about 3-4 days. Make sure it’s covered well with plastic wrap to keep it fresh and prevent it from picking up any fridge smells.
Q: Can I freeze Key Lime Cheesecake?
A: Yes, you absolutely can! For freezing, I’d skip the whipped cream topping. Let the cheesecake cool completely, then wrap it tightly in plastic wrap, followed by a layer of aluminum foil. It can last in the freezer for 1-2 months. Thaw it in the refrigerator overnight before adding the topping and serving.
Estimated Nutritional Information
Just a heads-up, friends! I’ve included some estimated nutritional information for this Key Lime Cheesecake below. Please keep in mind that these are just estimates. The actual values can change depending on the exact brands of ingredients you use, how you measure things, and any little tweaks you make. I’m not a registered dietitian, so think of this as a general guide, not a precise breakdown!
I don’t provide exact, guaranteed nutritional information because there are just too many variables. But hopefully, this gives you a rough idea of what’s in a slice!
Enjoy and Share Your Key Lime Cheesecake
Okay, you did it! You made this incredible Key Lime Cheesecake. Now comes the best part – digging in! Seriously, take a moment to savor that amazing tangy, creamy goodness you created. I’d absolutely LOVE to hear how yours turned out, so please leave a comment below and tell me all about it! And hey, if you snap a photo, be sure to share it on social media and tag me. Happy baking (and eating)!
Print
Key Lime Cheesecake: The 1 showstopping delight
- Total Time: 5 hours
- Yield: 12 servings 1x
- Diet: Vegetarian
Description
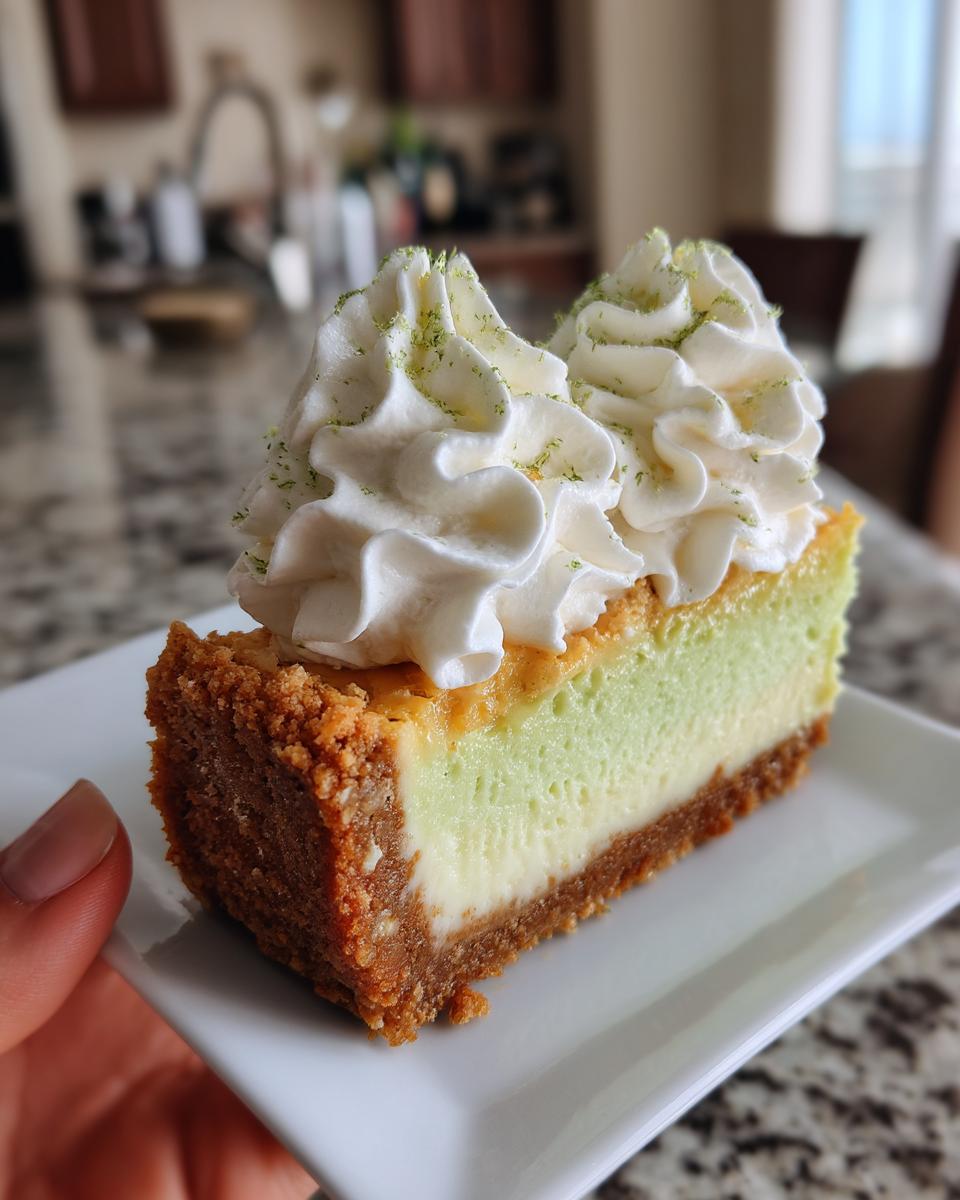
A tangy and sweet cheesecake with a graham cracker crust and a creamy key lime filling.
Ingredients
- 1 1/2 cups graham cracker crumbs
- 1/2 cup unsalted butter, melted
- 1/4 cup granulated sugar
- 3 (8 ounce) packages cream cheese, softened
- 1 (14 ounce) can sweetened condensed milk
- 1/2 cup key lime juice
- 1 teaspoon vanilla extract
- 1/4 teaspoon salt
- 1 cup heavy cream
- 2 tablespoons powdered sugar
Instructions
- Preheat oven to 350°F (175°C). Grease a 9-inch springform pan.
- In a medium bowl, combine graham cracker crumbs, melted butter, and granulated sugar. Press mixture firmly into the bottom and up the sides of the prepared pan. Bake for 10 minutes. Remove from oven and let cool.
- In a large bowl, beat cream cheese until smooth. Gradually beat in sweetened condensed milk until well combined.
- Stir in key lime juice, vanilla extract, and salt. Pour filling into the cooled crust.
- Bake for 35-40 minutes, or until the center is almost set. The edges should be slightly puffed.
- Remove from oven and let cool in the pan on a wire rack for 15 minutes. Run a knife around the edge of the pan before releasing the springform.
- Refrigerate for at least 4 hours, or preferably overnight, before serving.
- Before serving, beat heavy cream and powdered sugar together until stiff peaks form. Spread or pipe whipped cream over the cheesecake.
Notes
- For best results, use fresh key lime juice.
- Ensure all ingredients are at room temperature for a smooth filling.
- Do not overbake the cheesecake, as it will continue to set as it cools.
- Prep Time: 20 minutes
- Cook Time: 40 minutes
- Category: Dessert
- Method: Baking
- Cuisine: American
Nutrition
- Serving Size: 1 slice
- Calories: 500
- Sugar: 40g
- Sodium: 250mg
- Fat: 35g
- Saturated Fat: 20g
- Unsaturated Fat: 10g
- Trans Fat: 0g
- Carbohydrates: 40g
- Fiber: 1g
- Protein: 8g
- Cholesterol: 120mg
Keywords: cheesecake, key lime, dessert, baking, citrus