
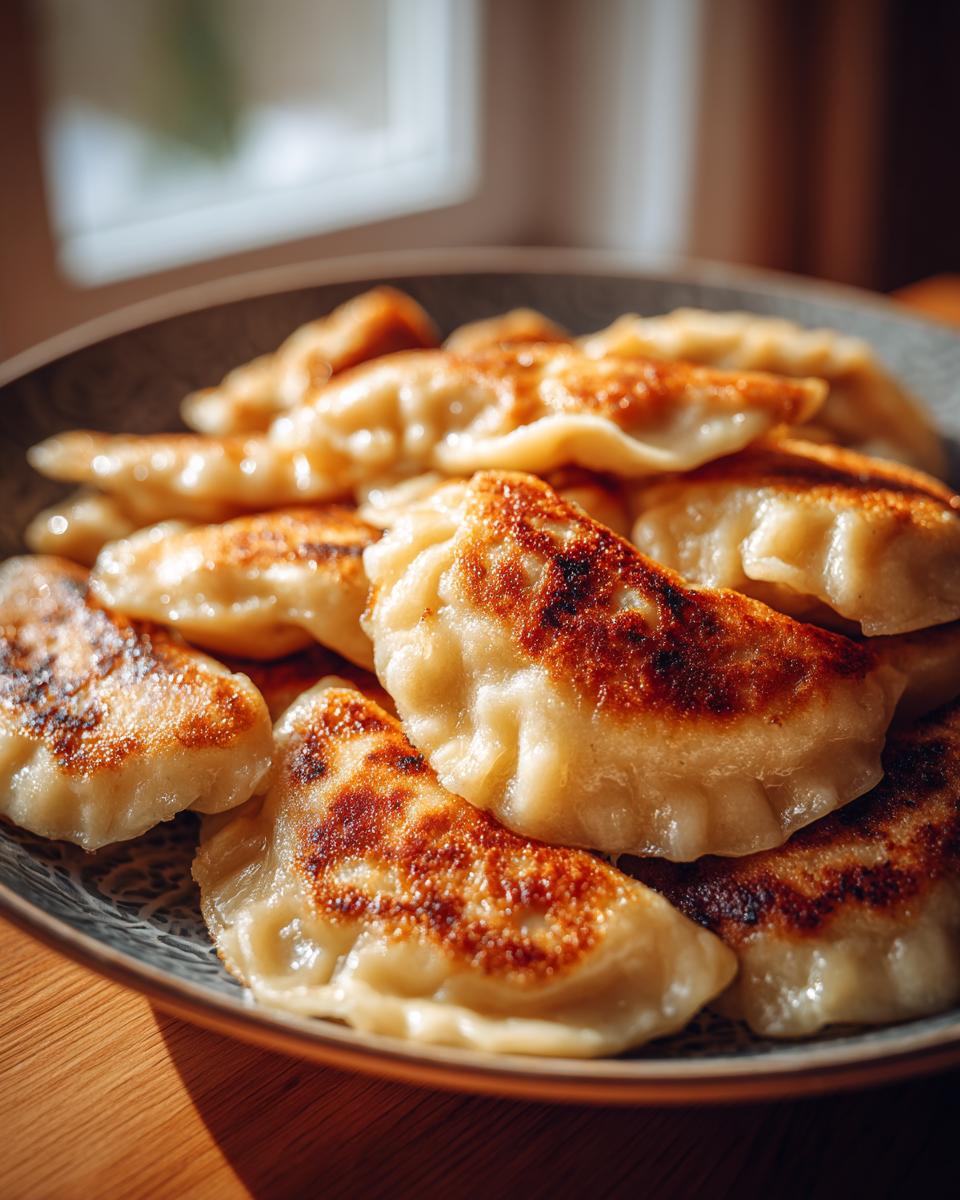
Keep Calm and Eat Pierogi!
Oh, pierogi. Just saying the word makes me feel instantly cozy! There’s something so incredibly comforting about these little pockets of deliciousness. Growing up, making pierogi was a *huge* event in our house, especially around holidays. My babcia (that’s grandma in Polish!) would take over the kitchen, flour flying everywhere, and we kids would gather around, tasked with the ever-important job of pinching the edges closed. It felt like magic, turning simple dough and fillings into these perfect little pillows.
For centuries, pierogi have been a staple of Polish tables, a symbol of hospitality and celebration. They’re more than just food; they’re memories, shared laughter, and a whole lot of love wrapped up in dough. And honestly? In today’s crazy world, sometimes you just need to **Keep Calm and Eat Pierogi!**
That’s exactly what this post is all about. I want to share my tried-and-true, no-fail secrets to making incredible homemade pierogi right in your own kitchen. Trust me, if I can do it (and make a bit of a mess doing it!), you absolutely can too. I’ve spent countless hours perfecting this recipe, learning from the best (Babcia, of course!), and I’m so excited to guide you through each step. Get ready to experience the pure joy of making and eating your very own batch of delicious pierogi!

Why You’ll Love This Keep Calm and Eat Pierogi Recipe
So why is THIS the pierogi recipe you need in your life? Let me tell you! It’s not just about the final delicious bite (though that’s a big part of it!). This recipe is fantastic because:
- It’s surprisingly simple! Don’t let the idea of making dough from scratch scare you. We’ll keep it easy.
- You can fill them with *anything*! Seriously, the options are endless, from classic potato and cheese to sweet fruit ones.
- Making them is almost as comforting as eating them. There’s something so calming and satisfying about the process.
- You get that amazing “Keep Calm and Eat Pierogi” feeling the moment they hit the plate. Pure, unadulterated comfort food bliss.
It’s a little project that pays off big time in deliciousness and good vibes!
Essential Ingredients to Keep Calm and Eat Pierogi
Alright, let’s talk about what you’ll need to get this pierogi party started! The beauty of pierogi is that the dough itself is super simple, just a few basic pantry staples. But getting good results really does come down to using decent stuff. You’ll need:
- All-purpose flour: The workhorse! Just your standard white flour is perfect here.
- Salt: Gotta have it to give the dough flavor.
- One large egg: This helps bind everything together and adds a bit of richness.
- Warm water: Not hot, not cold, but just warm to the touch. This helps the dough come together nicely.
That’s it for the dough! See? Easy peasy. Now, the real fun comes with the fillings. This is where you can totally customize your “Keep Calm and Eat Pierogi” experience. The classics are potato and cheese (usually cheddar or farmer’s cheese), sauerkraut and mushroom (so earthy and good!), and sometimes a simple meat filling. But honestly, the world is your oyster! You could do sweet cheese, fruit fillings like blueberries or cherries, or even something totally non-traditional. It’s your pierogi, your rules!
Ingredient Notes and Potential Substitutions for Keep Calm and Eat Pierogi
A few quick notes on those ingredients. For the flour, I really do recommend all-purpose to start. You *could* experiment with bread flour for a chewier dough, but plain old AP is most traditional and easiest to work with. When you’re making that classic potato and cheese filling, aim for starchy potatoes like Russets. They mash up beautifully and make a really creamy filling. As for the warm water, think bathwater temperature – around 100-110°F (38-43°C). Too hot and you might cook the egg; too cold and the dough won’t be as pliable. And seriously, have fun with those fillings! If you don’t like sauerkraut, skip it! If you have leftover mashed potatoes, perfect! This recipe is super forgiving.
Equipment Needed to Keep Calm and Eat Pierogi
Okay, before we get our hands doughy, let’s make sure you’ve got the right tools for the job. You don’t need anything fancy, just some kitchen basics. You’ll definitely want a nice big pot for boiling those beauties, a slotted spoon to scoop ’em out, a rolling pin to get that dough nice and thin, and something to cut your circles – a standard drinking glass or a round cookie cutter works perfectly. That’s really all there is to it!
Step-by-Step Instructions: How to Keep Calm and Eat Pierogi
Alright, deep breaths! Making pierogi might seem like a marathon, but broken down, it’s totally doable. Let’s get this dough made and those little pockets of joy created. Follow these steps, take your time, and enjoy the process!
- Make the Dough: Grab a big bowl and whisk together your flour and salt. In a separate bowl, beat the egg with the warm water. Now, pour the wet into the dry. Stir it all up with a spoon or spatula until it starts to come together into a shaggy mess.
- Knead It Out: Turn that doughy mess onto a lightly floured surface. Now, it’s time for some kneading! Push and fold the dough for about 5-7 minutes. It should become smooth and elastic. Don’t add too much extra flour unless it’s *really* sticking. A little sticky is okay.
- Let it Rest: Form the dough into a ball, cover it with a clean kitchen towel or plastic wrap, and let it chill on the counter for at least 30 minutes. This resting time is crucial! It lets the gluten relax, making the dough easier to roll out later.
- Prep Your Fillings: While the dough is resting, get your fillings ready. Make sure they’re cool to the touch, especially if you’re using potato and cheese or meat. Too warm and they’ll melt the dough.
- Roll and Cut: Divide your rested dough into two or three pieces. Take one piece and roll it out on a lightly floured surface until it’s quite thin – about the thickness of a quarter. Use your chosen cutter (that glass or cookie cutter!) to cut out circles.
- Fill ‘Em Up: Place a small spoonful of your filling in the center of each dough circle. Don’t go crazy here; too much filling makes it hard to seal!
- Seal the Deal: This is key! Fold the dough circle in half, bringing one edge over the filling to meet the other edge. Starting at one end, pinch the edges firmly together to seal the pierogi. You want to make sure there are no gaps, or your precious filling will escape in the boiling water! You can make little decorative crimps if you like, but a simple, tight pinch is the most important thing.
- Keep Going: Repeat steps 5-7 with the remaining dough and filling. As you make them, place the finished pierogi on a lightly floured baking sheet or clean towel so they don’t stick to each other.
- Boil Time!: Fill a large pot with salted water and bring it to a rolling boil. Gently drop the pierogi into the boiling water, but don’t overcrowd the pot! Cook them in batches.
- Floating Pierogi: They’ll sink at first, but as they cook, they’ll float to the surface. Once they float, let them cook for another 2-3 minutes just to be sure the dough is cooked through.
- Scoop and Serve: Use a slotted spoon to carefully lift the cooked pierogi out of the water. Let the excess water drain off. Place them on a warm platter and serve immediately!
Tips for Perfect Keep Calm and Eat Pierogi
Okay, a few little tricks I’ve picked up over the years to make your pierogi journey even smoother. First, seriously, don’t overcrowd the pot when boiling! It lowers the water temperature and can make the pierogi gummy or stick together. Cook them in batches. How do you know they’re done? They float! But give them that extra couple of minutes after floating, especially if you’ve made them a little thicker. To prevent sticking after boiling, you can toss them gently with a little melted butter. And please, please experiment with fillings! Leftover pulled pork? Amazing. Sweetened farmer’s cheese with a hint of vanilla? Divine. Find your favorite way to Keep Calm and Eat Pierogi!
Serving Suggestions for Your Keep Calm and Eat Pierogi
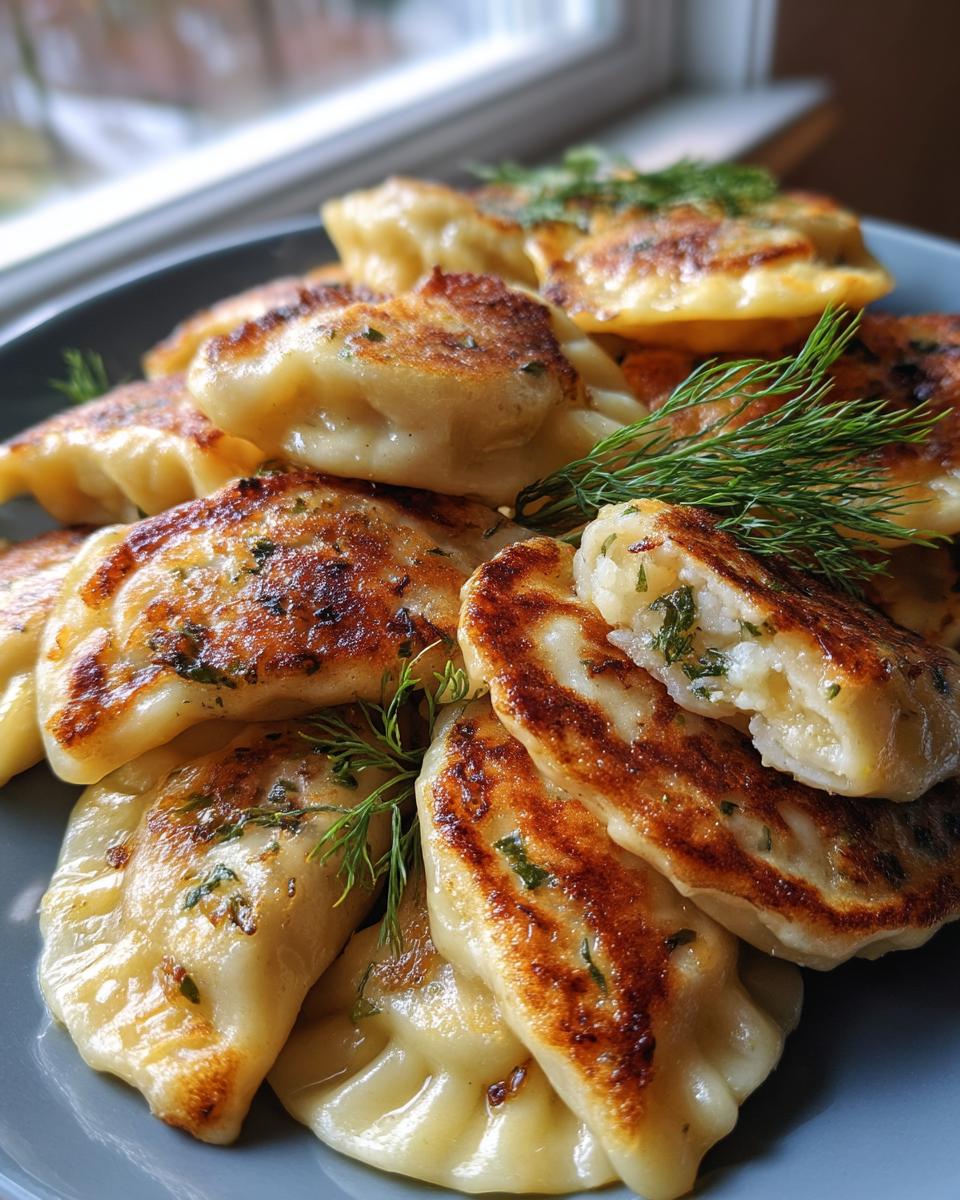
Alright, you’ve done it! Your beautiful, homemade pierogi are ready to eat. Now for the best part! The classic way to serve them is simply tossed with melted butter – it lets the flavor of the pierogi and filling really shine. A big dollop of sour cream on the side is also a must for many. And don’t forget the fried onions! Sautéing some sliced onions in butter until they’re golden and sweet is pure perfection. You could also serve them with crispy bacon bits or even a sprinkle of fresh dill for some brightness. However you top them, just dig in and enjoy that well-deserved “Keep Calm and Eat Pierogi” moment!
Keep Calm and Eat Pierogi: Storage and Reheating
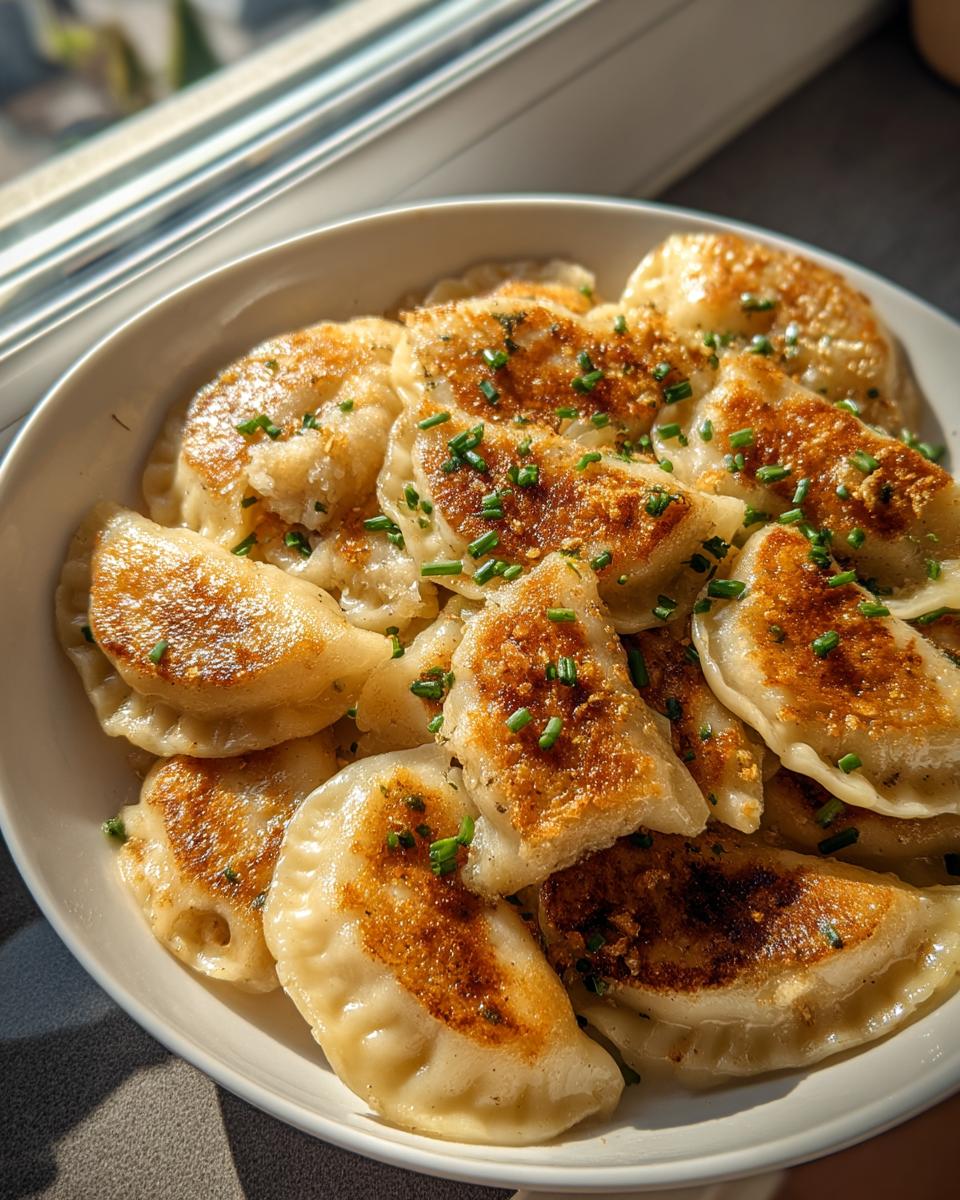
So you’ve got leftover pierogi? Lucky you! Cooked pierogi can hang out in the fridge in an airtight container for 3-4 days. The best way to reheat them is to pan-fry them in a little butter until they’re golden and heated through – it brings back that lovely texture! If you made a big batch and want to save some for later (smart!), freeze uncooked pierogi in a single layer on a baking sheet until solid, then pop them into a freezer bag. You can boil them straight from frozen, just add a couple extra minutes to the cooking time. Easy peasy way to keep calm and have pierogi ready whenever the craving strikes!
Frequently Asked Questions About Keep Calm and Eat Pierogi
Got questions? Totally understandable! Here are a few things people often ask when they’re diving into the wonderful world of homemade pierogi:
Q: Can I make the dough ahead of time?
Absolutely! You can make the dough, wrap it tightly in plastic wrap, and keep it in the fridge for up to 24 hours. Just let it sit at room temperature for about 30 minutes before you roll it out; it’ll be much easier to work with.
Q: What are the best fillings for Keep Calm and Eat Pierogi?
Oh, this is so personal! The classics are potato and cheese, sauerkraut and mushroom, or meat. But truly, the “best” is whatever makes *you* happy! Sweet cheese, fruit, even spinach and feta – get creative and find your favorite way to keep calm and eat pierogi!
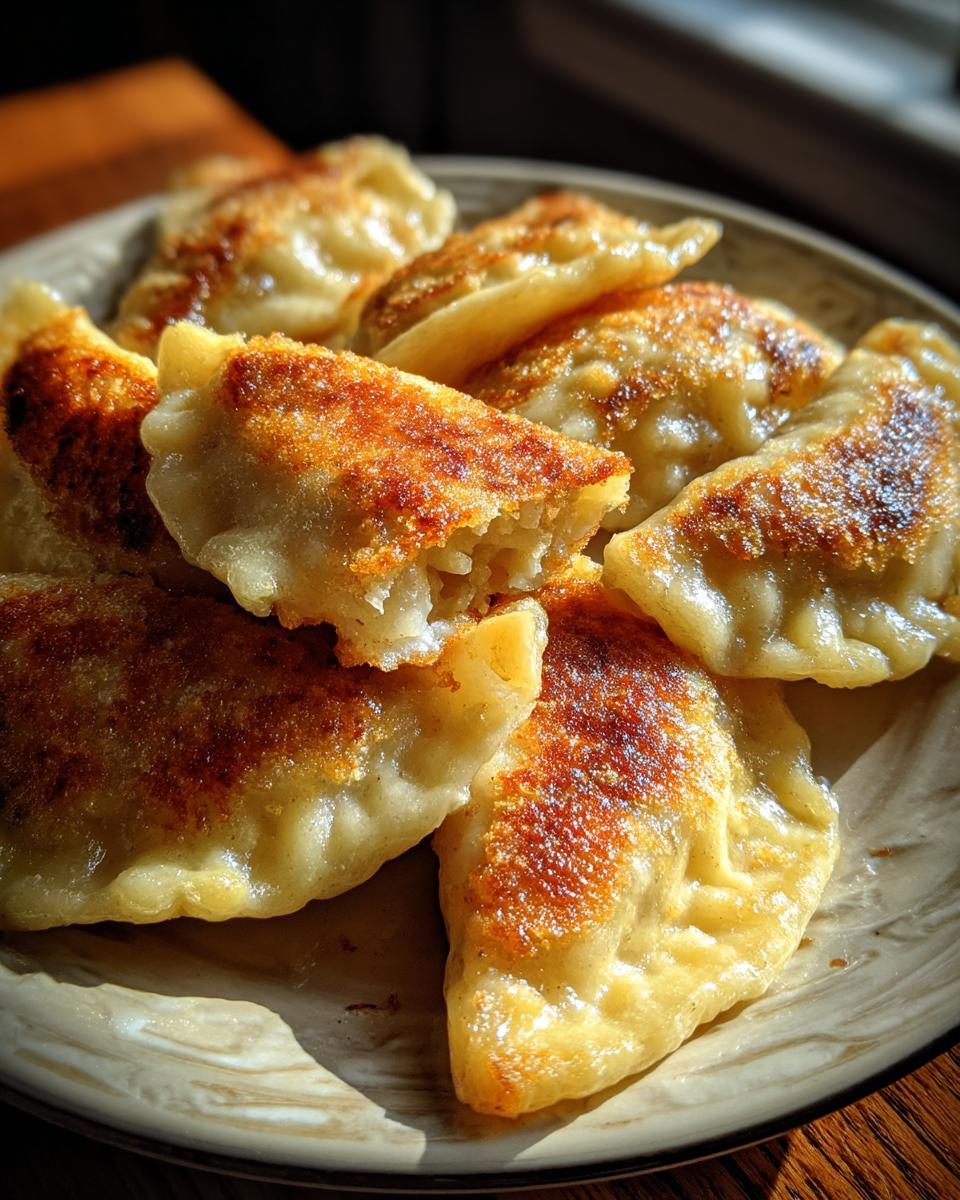
Q: Can I bake or fry pierogi instead of boiling?
You sure can! While boiling is the traditional method, you can definitely pan-fry cooked pierogi in butter for a crispy treat. You can also bake them! Toss boiled pierogi with a little oil or melted butter and bake at around 375°F (190°C) until heated through and slightly golden. It’s a great option!
Estimated Nutritional Information for Keep Calm and Eat Pierogi
Okay, so I’m a home cook, not a nutritionist, but I know some folks like to have an idea of what they’re eating! Keep in mind that these numbers are just an estimate and will totally depend on the exact ingredients you use and what filling you choose. Things like the type of cheese or how much butter you serve them with will definitely change things up. But based on the general recipe, here’s a rough idea:
- Serving Size: 4 pierogi
- Calories: About 300
- Fat: Around 5g
- Carbohydrates: Roughly 50g
- Protein: About 10g
Remember, this is just a ballpark! The most important thing is that they’re delicious and make you feel good. Enjoy every bite!
Okay, Now Go Make Some Pierogi!
So there you have it! My absolute favorite way to make homemade pierogi. I really, really hope you give this recipe a try. It’s a labor of love, yes, but totally worth it for that incredible taste and the feeling you get when you bite into one of your very own creations. Let me know in the comments how your pierogi turn out and what fillings you used! And hey, if you loved this recipe, please consider giving it a rating. It helps other pierogi lovers find it! Don’t forget to share this recipe with anyone who needs a little “Keep Calm and Eat Pierogi” moment in their life!
Print
Keep Calm and Eat Pierogi! Enjoy Blissful Bites
- Total Time: 1 hour
- Yield: 24 pierogi 1x
Description
Classic homemade pierogi with various fillings.
Ingredients
- 2 cups all-purpose flour
- 1 teaspoon salt
- 1 large egg
- 1/2 cup warm water
- Fillings of choice (potato and cheese, sauerkraut and mushroom, meat, fruit)
Instructions
- Combine flour and salt in a bowl.
- Whisk together egg and warm water.
- Pour wet ingredients into dry ingredients and mix until a dough forms.
- Knead dough on a floured surface for 5-7 minutes until smooth.
- Cover dough and let rest for 30 minutes.
- Roll out dough thinly and cut into circles using a glass or cutter.
- Place a small amount of filling in the center of each circle.
- Fold dough in half and pinch edges to seal.
- Bring a large pot of salted water to a boil.
- Cook pierogi in batches for 3-5 minutes, or until they float to the surface.
- Remove pierogi with a slotted spoon and serve hot.
Notes
- Serve with melted butter, sour cream, or fried onions.
- Pierogi can be pan-fried after boiling for a crispy texture.
- Make ahead and freeze uncooked pierogi on a baking sheet before transferring to a freezer bag.
- Prep Time: 45 minutes
- Cook Time: 15 minutes
- Category: Main Course
- Method: Boiling
- Cuisine: Polish
Nutrition
- Serving Size: 4 pierogi
- Calories: 300
- Sugar: 2g
- Sodium: 350mg
- Fat: 5g
- Saturated Fat: 2g
- Unsaturated Fat: 3g
- Trans Fat: 0g
- Carbohydrates: 50g
- Fiber: 3g
- Protein: 10g
- Cholesterol: 50mg
Keywords: pierogi, polish food, dumplings, comfort food