
Okay, pet parents, let’s talk treats! If you’re anything like me, your dog isn’t just a pet, right? They’re family. And just like I want to feed my human family the best, I feel the exact same way about my furry best friend. For years, I found myself squinting at the back of dog treat bags, trying to decipher a mile-long list of ingredients I couldn’t pronounce. It just didn’t sit right with me. So, I started baking for my own pup, Luna, and honestly, it changed everything.
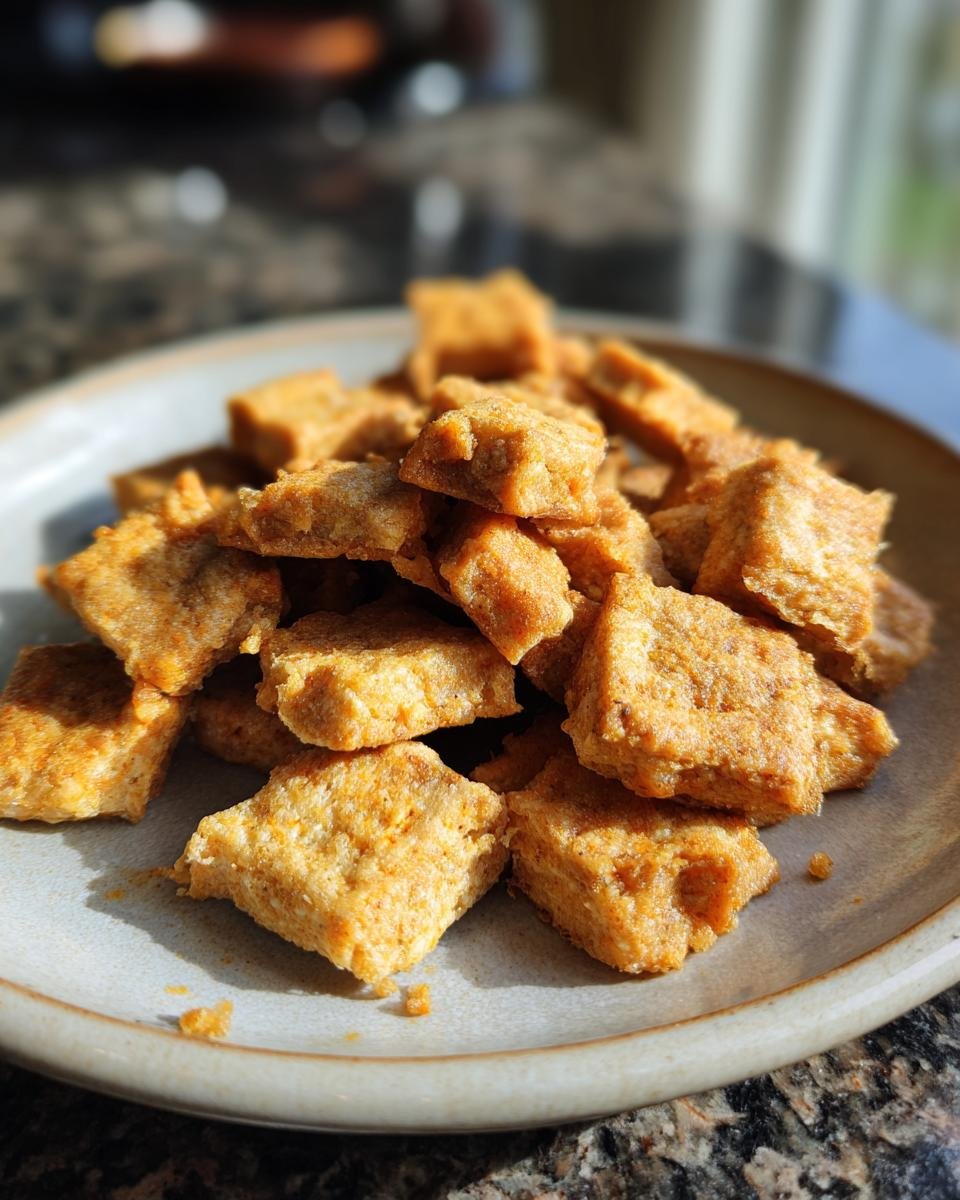
There’s such a pure joy in seeing her eyes light up, tail wagging like crazy, when she knows she’s about to get one of her homemade goodies. It’s not just about avoiding mystery ingredients; it’s about actively giving them something wholesome, something made with love. That’s why I’m so excited to share my go-to recipe for what I call Freedom Firecracker Bites for Dogs with you today!
These aren’t just any treats; they’re packed with natural goodness and are super simple to make. Trust me, I’ve spent years diving deep into pet nutrition, figuring out what truly nourishes our dogs, not just fills them up. And these Firecracker Bites? They’re a safe, delicious, and seriously tail-wagging option that you can feel fantastic about giving your beloved companion.

Why Your Dog Will Love Freedom Firecracker Bites for Dogs
So, why are these Freedom Firecracker Bites going to be your dog’s new favorite obsession? First off, they’re absolutely delicious! Dogs just go crazy for that peanut butter and applesauce combo, and the hint of cinnamon and ginger? Oh, it’s a game-changer. But beyond just tasting amazing, these bites are genuinely good for them. You won’t find any weird fillers or artificial junk here, just pure, wholesome ingredients you can recognize. It’s truly a win-win!
- All-Natural Goodness: We’re talking real ingredients, no mystery meat or artificial colors.
- No Nasty Additives: You control what goes in, so you can say goodbye to preservatives and strange chemicals.
- A Healthy Alternative: These are a fantastic, guilt-free snack that supports their well-being, not just their cravings.
- Tail-Wagging Flavor: Seriously, the taste is just irresistible for our furry friends!
What You Need for Your Freedom Firecracker Bites
Alright, let’s get down to the good stuff – what you’ll need to whip up these amazing Freedom Firecracker Bites! The beauty of this recipe is how simple the ingredient list is. We’re talking everyday pantry staples, but when they come together, magic happens. Trust me, using good quality ingredients here really does make a difference for your pup’s health and the overall yumminess of the treats. No weird stuff, just pure goodness!
Essential Ingredients for Freedom Firecracker Bites
- 1 cup whole wheat flour
- 1/2 cup rolled oats
- 1/4 cup unsweetened applesauce
- 1/4 cup natural peanut butter (SUPER important: make sure it’s xylitol-free!)
- 1 large egg
- 1/4 cup water (you might need a tiny bit more, we’ll see!)
- 1/2 teaspoon cinnamon
- 1/4 teaspoon ground ginger
Preparing Your Freedom Firecracker Bites for Dogs
Okay, now for the fun part – actually making these delicious Freedom Firecracker Bites! Don’t worry, even if you’re not a seasoned baker, this recipe is super forgiving. I’ll walk you through each step, just like I’m right there in your kitchen. The key here is to get that dough just right – not too sticky, not too dry – and then bake them until they’re perfectly golden and firm. Your dog is going to be so excited!
Step-by-Step Guide to Perfect Freedom Firecracker Bites
First things first, let’s get that oven ready! You’ll want to preheat it to 350°F (that’s about 175°C for my international friends). While it’s warming up, grab a baking sheet and line it with parchment paper. This just makes cleanup a breeze and stops any sticking.
Next, in a big bowl, whisk together your dry ingredients: the whole wheat flour, rolled oats, cinnamon, and ginger. Give them a good mix so everything’s evenly distributed. In a separate, smaller bowl, you’ll whisk up the wet stuff: applesauce, that all-important xylitol-free peanut butter, the egg, and the initial 1/4 cup of water. Get it all smooth and combined.
Now, pour those wet ingredients into the dry. Start mixing with a spoon or your hands until a firm dough forms. This is where you might need to play Goldilocks a little! If it feels too dry and crumbly, add a tiny splash more water, like a teaspoon at a time, until it comes together. You want it firm enough to roll out, not sticky like pancake batter. Roll it out on a lightly floured surface to about 1/4-inch thickness. Then, get creative! Use a knife to cut small bite-sized pieces, or if you’re feeling fancy, a mini cookie cutter works great. Pop them onto your prepared baking sheet, and into the oven they go for about 20-25 minutes, or until they’re a lovely golden brown and feel firm to the touch. Once they’re done, let them cool completely on a wire rack. Patience, my friend, is key here!
Tips for Success with Freedom Firecracker Bites
Baking these Freedom Firecracker Bites is pretty straightforward, but I’ve picked up a few little tricks over the years that can make all the difference. First, don’t be afraid to trust your intuition when it comes to the dough. If it’s too crumbly, a tiny bit more water will fix it; too sticky, a little more flour. You want it firm but pliable, easy to roll out. For checking doneness, look for that nice golden-brown color and a firm feel. If they look a little pale or squishy, give them another few minutes. My rule of thumb is, if they snap when cooled, they’re perfect!
Also, remember that cooling part? Super important! They’ll firm up as they cool, so don’t rush it. And for those picky pups (we all know one!), sometimes crumbling a warm Firecracker Bite over their regular food can entice them to try it. You can also play with the spices a bit – a little more ginger if your dog loves it, or a pinch of turmeric for an anti-inflammatory boost. Just make sure whatever you add is safe for dogs!
Common Questions About Freedom Firecracker Bites for Dogs
I get a lot of questions from fellow dog parents about these Freedom Firecracker Bites, and I love it! It shows how much you care about what goes into your furry friend’s belly. So, I’ve put together some of the most common questions I hear to help you out.
Q1. Can I substitute flours in this recipe?
You bet! While I prefer whole wheat flour for its nutrients, you can absolutely experiment. Oat flour or even rice flour can work well for these homemade dog snacks, especially if your pup has sensitivities. Just be mindful that different flours absorb liquid differently, so you might need to adjust the water slightly to get that perfect dough consistency.
Q2. How long do these healthy dog treats last?
Great question! When stored properly in an airtight container, these Freedom Firecracker Bites will stay fresh at room temperature for about a week. If you pop them in the fridge, they’ll last up to two weeks. And for longer storage, they freeze beautifully for up to two months! I often make a big batch and freeze some for later.
Q3. Are these suitable for puppies?
Absolutely! These are fantastic dog treats for puppies. The ingredients are all natural and gentle on their developing tummies. Just make sure to cut them into really small, manageable pieces for little mouths and supervise them, especially if they’re still learning how to chew properly!
Can I Customize My Freedom Firecracker Bites?
Oh, the possibilities are endless! You can totally get creative with these peanut butter dog treats. Want to add some finely shredded carrots or a sprinkle of flax seeds for extra fiber? Go for it! Just make sure any additions are 100% dog-safe. Always double-check if you’re unsure about an ingredient. Your pup will love the variety!
Storing Your Freedom Firecracker Bites
Okay, so you’ve baked up a batch of these amazing Freedom Firecracker Bites, and your pup is in heaven! Now, how do you keep them fresh so you can continue to spoil your furry friend? It’s super simple. For short-term storage, just pop them into an airtight container and keep them at room temperature. They’ll be perfectly fine for about a week. If you want them to last a bit longer, like up to two weeks, just store them in the refrigerator. And for those of us who like to bake big batches (guilty!), these treats freeze beautifully for up to two months. Just make sure they’re completely cool before freezing!
Share Your Freedom Firecracker Bites Experience
Well, there you have it! My absolute favorite recipe for Freedom Firecracker Bites. I truly hope you and your furry best friend love them as much as Luna and I do. I’d absolutely love to hear how they turn out for you! Did your dog do a happy dance? Did they beg for more? Please, drop a comment below and let me know all about your experience. And if you have any fun tweaks, share those too!
Print
Freedom Firecracker Bites: 1 Genius Homemade Treat
- Total Time: 40 minutes
- Yield: About 4 dozen small treats 1x
- Diet: Low Salt
Description
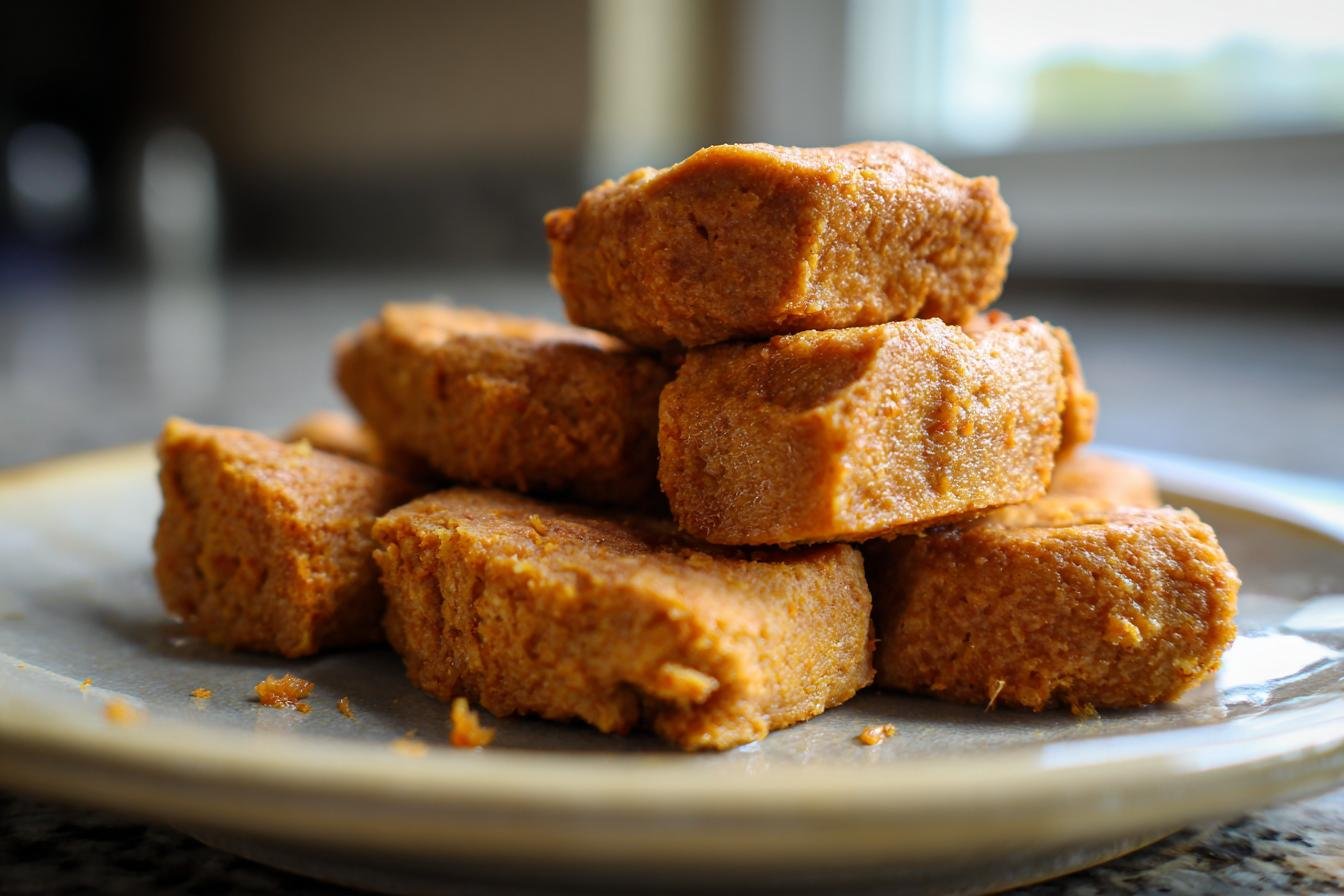
These homemade firecracker bites are a healthy and delicious treat for your dog, packed with natural ingredients.
Ingredients
- 1 cup whole wheat flour
- 1/2 cup rolled oats
- 1/4 cup unsweetened applesauce
- 1/4 cup natural peanut butter (xylitol-free)
- 1 large egg
- 1/4 cup water (or more, as needed)
- 1/2 teaspoon cinnamon
- 1/4 teaspoon ground ginger
Instructions
- Preheat oven to 350°F (175°C). Line a baking sheet with parchment paper.
- In a large bowl, combine whole wheat flour, rolled oats, cinnamon, and ginger.
- In a separate bowl, whisk together applesauce, peanut butter, egg, and water.
- Pour the wet ingredients into the dry ingredients and mix until a firm dough forms. Add more water if the dough is too dry.
- Roll out the dough to about 1/4-inch thickness on a lightly floured surface.
- Cut the dough into small bite-sized pieces using a knife or cookie cutter.
- Place the treats on the prepared baking sheet.
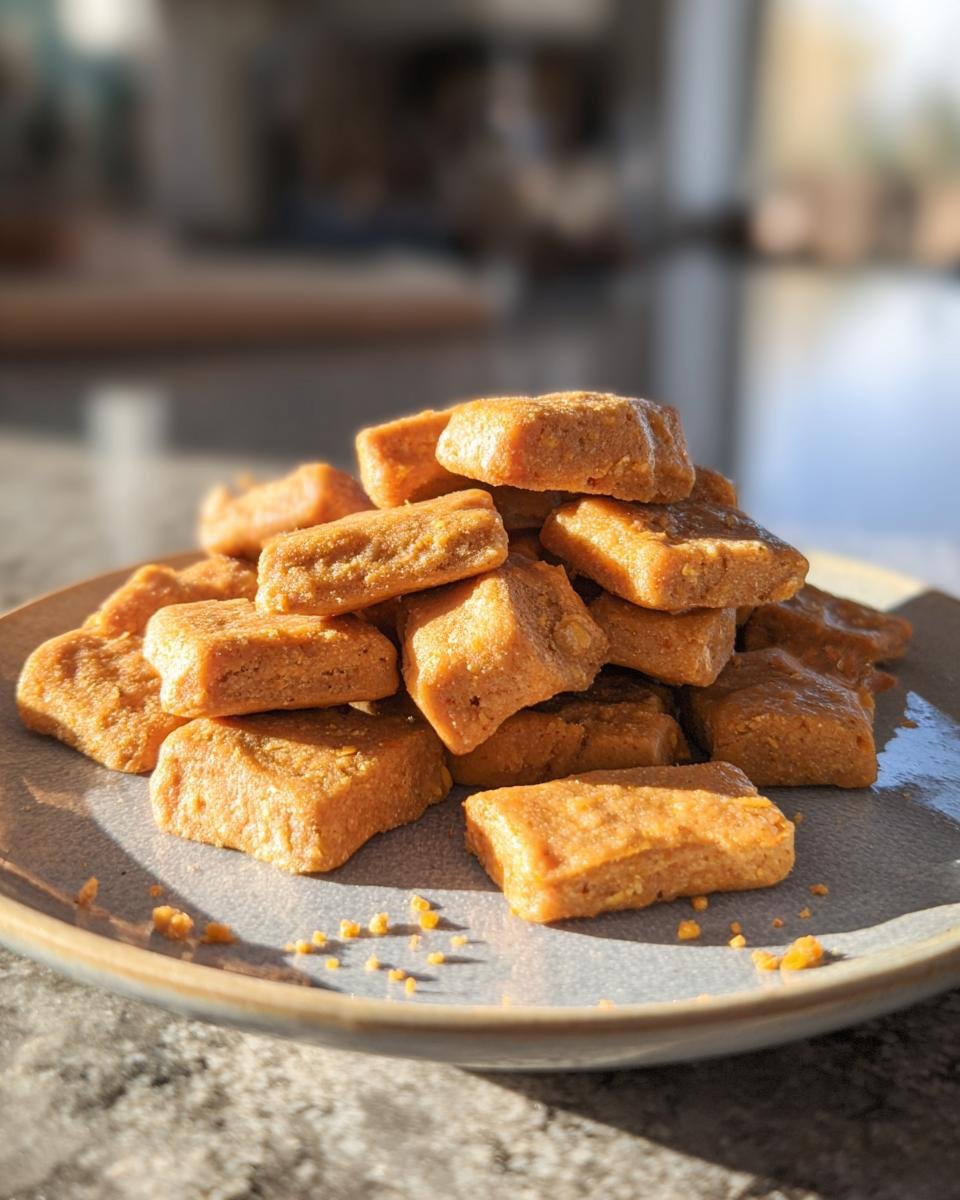
- Bake for 20-25 minutes, or until golden brown and firm.
- Let the treats cool completely on a wire rack before serving or storing.
Notes
- Ensure peanut butter is xylitol-free, as xylitol is toxic to dogs.
- Store treats in an airtight container at room temperature for up to 1 week, or in the refrigerator for up to 2 weeks.
- These treats can be frozen for up to 2 months.
- Prep Time: 15 minutes
- Cook Time: 25 minutes
- Category: Dog Treats
- Method: Baking
- Cuisine: Pet Food
Nutrition
- Serving Size: 1 treat
- Calories: 25
- Sugar: 1
- Sodium: 5
- Fat: 1.5
- Saturated Fat: 0.3
- Unsaturated Fat: 1.2
- Trans Fat: 0
- Carbohydrates: 2.5
- Fiber: 0.5
- Protein: 1
- Cholesterol: 5
Keywords: dog treats, homemade dog food, dog snacks, healthy dog treats, peanut butter dog treats, oat dog treats