
Oh, hello there, fellow food lover! Have you ever had one of those moments in the kitchen where something truly simple just… blows your mind? For me, it was the first time I made my own butter. Seriously, it’s a game-changer! Forget everything you thought about the humble spread; this Butter with a Side of Bread Recipe is about to revolutionize your breakfast, your snack time, or honestly, just your whole outlook on life.
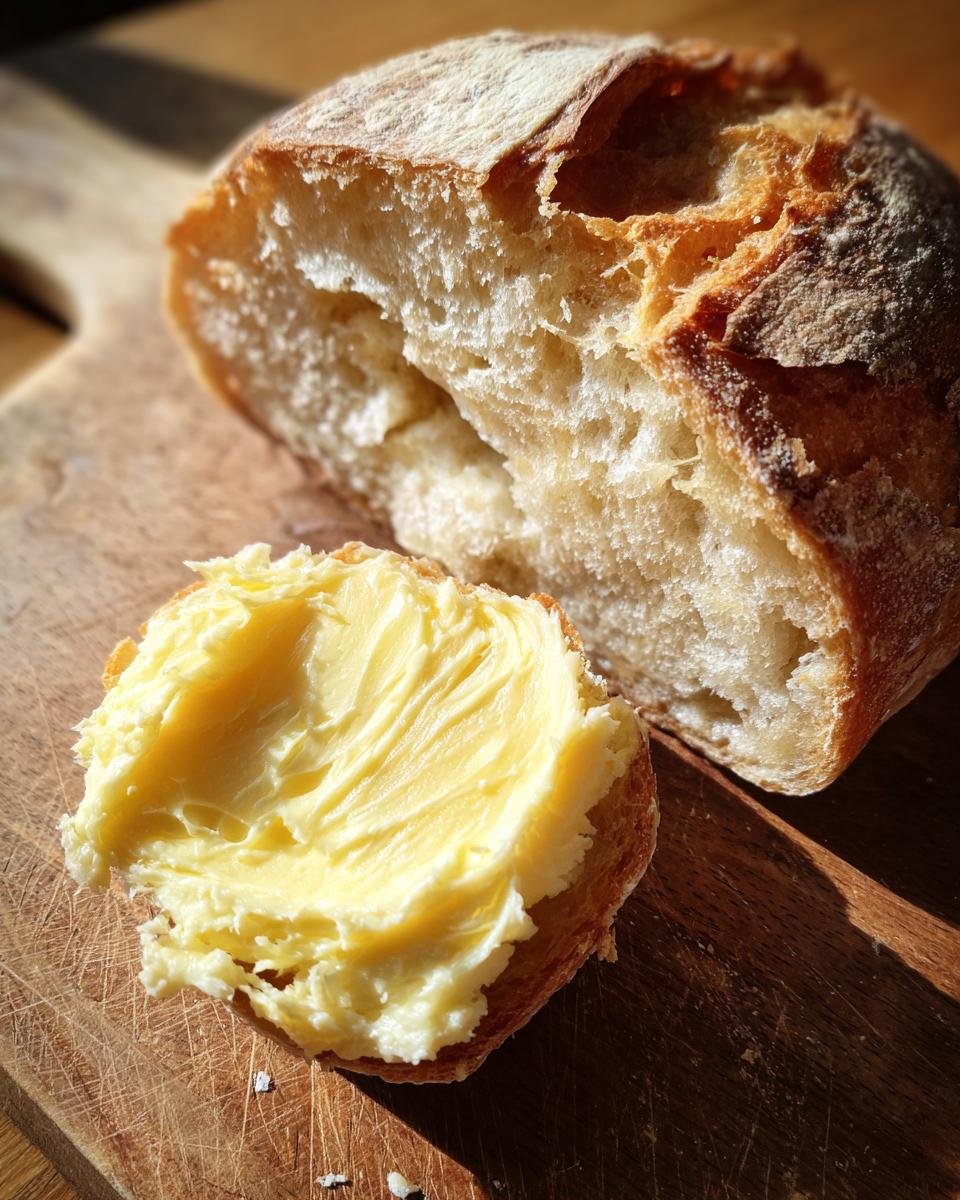
There’s something so incredibly satisfying about taking just one ingredient – yes, just one! – and transforming it into something so creamy, so fresh, and so utterly delicious. It feels like magic, but it’s just good old-fashioned science. And trust me, once you try this homemade butter nestled next to a warm, crusty loaf of bread, you’ll wonder why you ever settled for store-bought. It’s simple, it’s rewarding, and it’s going to make you feel like a culinary superstar. Let’s make some butter!

Why You’ll Love This Butter with a Side of Bread Recipe
Okay, so why should you even bother making your own butter, right? Besides the sheer awesomeness of it, there are so many reasons! This isn’t just about butter; it’s about the whole experience. You’ll instantly elevate any meal, turning a simple slice of bread into something truly special. Here’s why I’m completely obsessed with this Butter with a Side of Bread Recipe:
- It’s ridiculously easy – seriously, you won’t believe it!
- The flavor is out-of-this-world fresh and creamy.
- You get to feel like a total kitchen wizard.
- It makes for the most impressive last-minute appetizer or snack.
- You’ll never look at store-bought butter the same way again.
The Simplicity of a Homemade Butter with a Side of Bread Recipe
Honestly, if you can pour cream into a bowl, you can make this butter. That’s it! It’s just one main ingredient (plus a tiny bit of salt if you like), and your trusty mixer does most of the heavy lifting. We’re talking minutes, not hours, for something that tastes incredibly gourmet. It’s perfect even if you’re a complete beginner in the kitchen – no fancy skills needed here, just a little patience and a love for delicious things!
Essential Ingredients for Your Butter with a Side of Bread Recipe
Alright, let’s talk ingredients! The beauty of this Butter with a Side of Bread Recipe is how incredibly simple the list is. You really only need two things to make the butter itself, and then, of course, the star companion: some amazing bread. Here’s exactly what you’ll want to gather:
- 2 cups Heavy Cream: This is your magic potion! Make sure it’s COLD, like, really cold. I can’t stress this enough.
- 1/2 teaspoon Salt: This is totally optional, but I highly recommend it. It just makes the flavor pop!
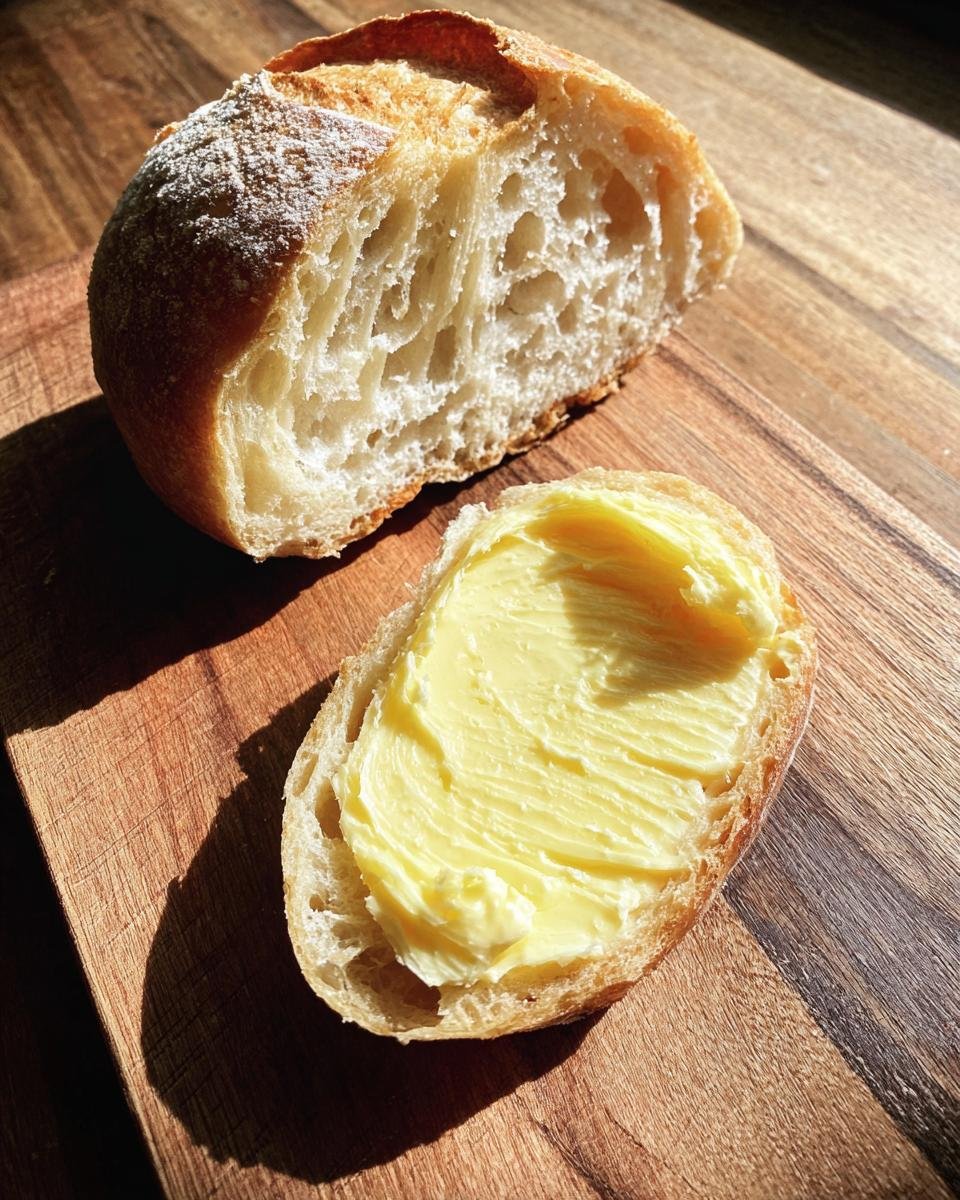
- 1 loaf Crusty Bread: Whether it’s homemade or your favorite from the bakery, this is the perfect vehicle for your fresh butter.
That’s it! See? I told you it was easy. Now, let’s dig into *why* these ingredients matter.
Choosing the Best Ingredients for Butter with a Side of Bread Recipe
When it comes to the heavy cream, quality really does make a difference. Look for a good, high-fat heavy cream, often labeled “heavy whipping cream.” The colder it is, the faster it’ll churn into beautiful butter, so pop it in the fridge for a few hours (or even overnight!) before you start. Trust me, it’s worth the wait. For the bread, think about what you love! A classic baguette, a rustic sourdough, or even a simple country white loaf works wonders. The key is that it’s got a nice crust and a soft, airy interior, perfect for slathering on that fresh, homemade goodness. Don’t be afraid to splurge a little on a really good loaf from a local bakery – it’s worth it for this experience!
How to Make Your Butter with a Side of Bread Recipe
Okay, this is where the magic happens! Making your own butter for this Butter with a Side of Bread Recipe is surprisingly simple, almost shockingly so. You’ll need a stand mixer with a whisk attachment, or a really strong arm and a hand mixer if you’re feeling ambitious (though I highly recommend the stand mixer for ease!). Just follow these steps, and you’ll have fresh, delicious butter in no time. Get ready to impress yourself!
Step-by-Step Guide to Your Butter with a Side of Bread Recipe
First things first, grab that super cold heavy cream. Pour it into your stand mixer bowl. Now, attach the whisk and start whisking on medium-high speed. You’ll see it go through a few stages: first, it gets foamy, then it turns into soft whipped cream, and then stiff whipped cream. Don’t stop there! Keep whisking, and it will suddenly look a little chunky, then yellow, and then you’ll hear a sloshing sound. That’s the butterfat separating from the buttermilk! This usually takes about 7-10 minutes, but it can vary. Once you see distinct yellow clumps of butter and a milky liquid, stop the mixer.
Next, get a fine-mesh sieve or a colander lined with cheesecloth and place it over a bowl. Pour the butter and buttermilk mixture into it. The liquid is your delicious buttermilk – save it! Now, for the butter solids, you need to rinse them. Run cold water over the butter, pressing it with a spoon or your hands to squeeze out any remaining buttermilk. Keep rinsing and pressing until the water runs completely clear. This is super important for good-tasting, long-lasting butter.
Finally, transfer your beautiful, fresh butter to a clean bowl. If you want salted butter, now’s the time to add that 1/2 teaspoon of salt. Mix it in really well until it’s evenly distributed. You can then form your butter into a log, a block, or even press it into a pretty mold. And just like that, you’ve got homemade butter ready for your bread!
Tips for a Perfect Butter with a Side of Bread Recipe
The coldest cream really is your best friend here. If your cream isn’t cold enough, it’ll take ages to churn, and trust me, you want this to go quickly! Also, don’t be afraid to really work that butter during the rinsing stage. Any leftover buttermilk can make your butter spoil faster or taste a little off. So, rinse, rinse, rinse until that water is crystal clear!
Oh, and that buttermilk you saved? Don’t throw it out! It’s fantastic for baking – think pancakes, biscuits, or even fried chicken marinades. It adds such a wonderful tang. You can also experiment with flavoring your butter after it’s made. A little fresh rosemary, some roasted garlic, or even a tiny bit of honey can turn this simple butter into something truly gourmet. Have fun with it!
Storing Your Homemade Butter with a Side of Bread Recipe
So, you’ve made your glorious homemade butter! Now, how do you keep it fresh and delicious for your next bread-and-butter moment? It’s pretty simple, actually. Just like store-bought butter, your homemade creation needs to be stored in an airtight container in the refrigerator. I usually wrap mine tightly in parchment paper or beeswax wrap first, then pop it into a sealed container. This keeps out any funky fridge odors and helps it stay nice and firm.
Your beautiful, fresh butter will last for about a week in the fridge. If you’ve rinsed it really, really well to get all that buttermilk out, it might even last a little longer. But honestly, with how tasty this Butter with a Side of Bread Recipe is, I doubt it’ll stick around for long anyway!
Frequently Asked Questions About Butter with a Side of Bread Recipe
I get a lot of questions about making homemade butter, and I love answering them! It’s totally normal to have a few “what ifs” when you’re trying something new, especially when it’s as fun as this Butter with a Side of Bread Recipe. Here are some of the most common things people ask me:
Common Queries for Your Butter with a Side of Bread Recipe
Q1. What kind of mixer should I use for this Butter with a Side of Bread Recipe?
You’ll definitely want a stand mixer with a whisk attachment. It makes the process super easy and hands-off. You *can* use a hand mixer, but your arm will get a workout, and it might take a bit longer. I wouldn’t recommend trying to do this by hand unless you’re feeling incredibly strong and patient!
Q2. How long does homemade butter last?
If you’ve rinsed it really well (and I mean *really* well!) to get all the buttermilk out, your homemade butter should last about a week in an airtight container in the refrigerator. If you’re worried about it, just give it a sniff – fresh butter smells lovely and creamy!
Q3. Can I add flavors to my Butter with a Side of Bread Recipe?
Oh, absolutely! This is one of my favorite parts. Once your butter is made and rinsed, you can mix in all sorts of delicious things. Think fresh herbs like rosemary or chives, minced garlic, a pinch of smoked paprika, or even a little honey and cinnamon for a sweet twist. Just make sure whatever you add is finely chopped or pureed so it blends in nicely.
Q4. Can I use low-fat cream for this Butter with a Side of Bread Recipe?
Unfortunately, no. You need the high fat content of heavy cream (or heavy whipping cream) for the butterfat to separate properly. Lower-fat creams just won’t churn into butter, no matter how long you whisk them. Stick to the good stuff for this one!
Estimated Nutritional Information for Your Butter with a Side of Bread Recipe
Alright, for those of you who like to keep an eye on the numbers, here’s a quick look at the estimated nutritional information for your homemade butter. Just keep in mind that these values are estimates and can vary depending on the exact heavy cream you use and whether you add salt. This is for the butter itself, not including the bread. It’s a rich, delicious treat, so enjoy it in moderation!
Share Your Butter with a Side of Bread Recipe Experience
So, there you have it! Your very own homemade butter, ready to elevate any meal. I really hope you give this Butter with a Side of Bread Recipe a try. When you do, please come back and tell me all about it! Did you love it? Did you try a fun flavor variation? I’d absolutely love to hear your thoughts in the comments below. Don’t forget to rate the recipe, and if you snap a picture of your beautiful creation, tag me on social media! Happy butter making!
Print
Butter with a Side of Bread Recipe: 1 Ingredient Wonder
- Total Time: 20 minutes
- Yield: 1/2 cup butter 1x
- Diet: Vegetarian
Description
This recipe focuses on creating delicious homemade butter to be served alongside freshly baked bread. It’s a simple yet rewarding process that elevates a basic staple.
Ingredients
- 2 cups Heavy Cream (cold)
- 1/2 teaspoon Salt (optional)
- 1 loaf Crusty Bread (store-bought or homemade)
Instructions
- Pour the cold heavy cream into a stand mixer fitted with the whisk attachment.
- Whisk on medium-high speed until the cream separates into butterfat and buttermilk. This usually takes 7-10 minutes.
- Pour the mixture through a fine-mesh sieve or cheesecloth-lined colander to separate the buttermilk from the butter solids. Save the buttermilk for other recipes.
- Rinse the butter solids under cold water, pressing out any remaining buttermilk. Continue rinsing and pressing until the water runs clear.
- Transfer the butter to a bowl and add salt, if desired. Mix well to combine.
- Form the butter into a log or desired shape.
- Serve immediately with fresh bread or store in an airtight container in the refrigerator for up to 1 week.
Notes
- Using very cold heavy cream is crucial for successful butter making.
- The buttermilk can be used in baking or for marinades.
- You can add herbs or garlic to the butter for flavored variations.
- Prep Time: 20 minutes
- Cook Time: 0 minutes
- Category: Condiment
- Method: Churning
- Cuisine: European
Nutrition
- Serving Size: 1 tablespoon butter
- Calories: 100
- Sugar: 0g
- Sodium: 90mg
- Fat: 11g
- Saturated Fat: 7g
- Unsaturated Fat: 3g
- Trans Fat: 0g
- Carbohydrates: 0g
- Fiber: 0g
- Protein: 0g
- Cholesterol: 30mg
Keywords: homemade butter, bread, dairy, easy recipe, condiment