
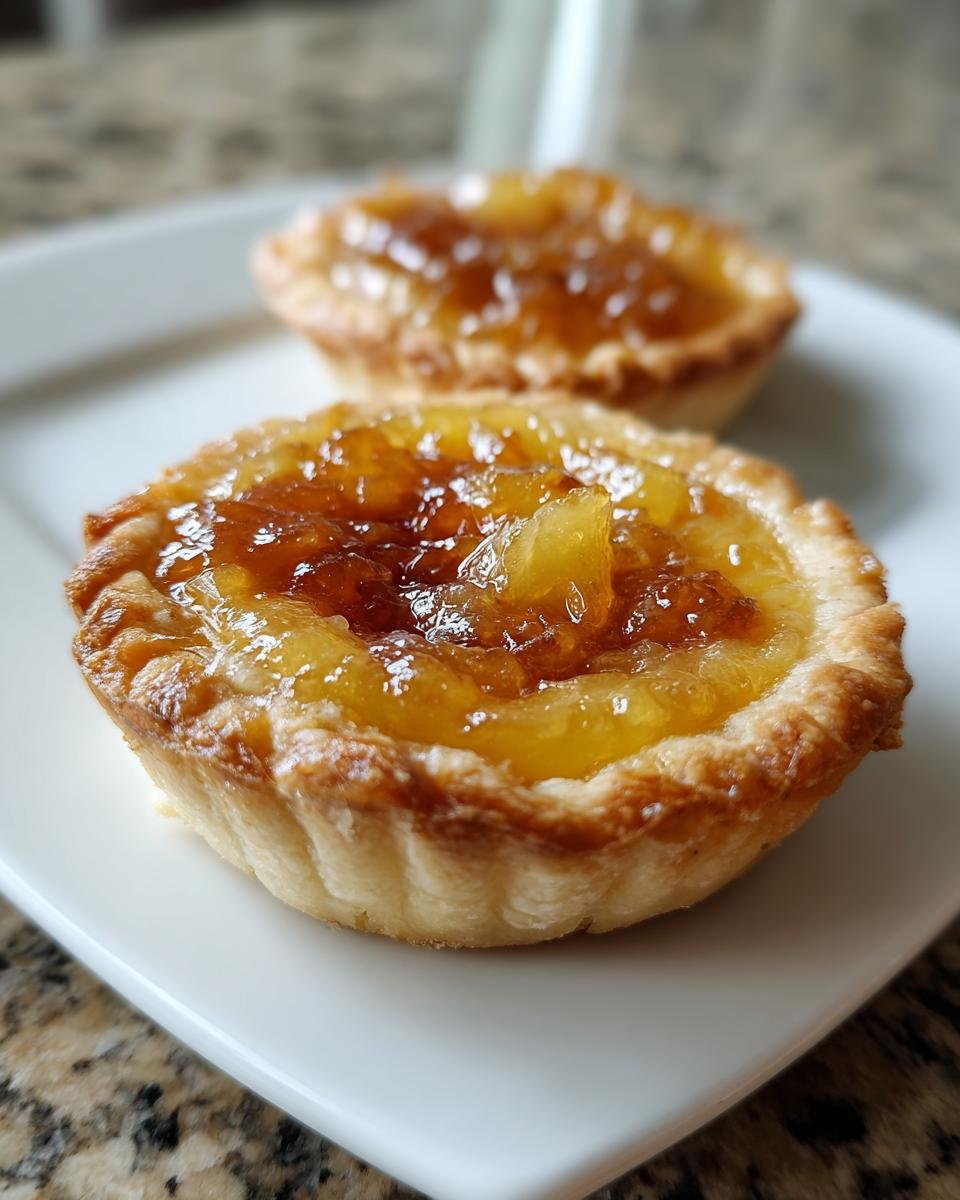
Oh, hello there, fellow baking enthusiast! Let me tell you, if there’s one treat that instantly transports me to pure joy, it’s these incredible Pineapple Jam Tarts. Seriously, one bite, and you’ll get it. We’re talking about a buttery, melt-in-your-mouth crust that just cradles the most wonderfully sweet and tangy pineapple filling. It’s like a little ray of sunshine in every single bite!
I first fell in love with these beauties during my travels, especially seeing the vibrant versions popular in Malaysian cuisine. There’s just something so comforting and yet so exciting about them. And trust me, I’ve baked my fair share of tarts over the years – from delicate fruit tarts to hearty savory ones – but these pineapple gems? They hold a very special place in my heart (and my recipe box!). They’re just *perfect* for brightening up any afternoon, sharing with friends, or simply treating yourself. Ready to dive into some deliciousness?

Why You’ll Adore These Pineapple Jam Tarts
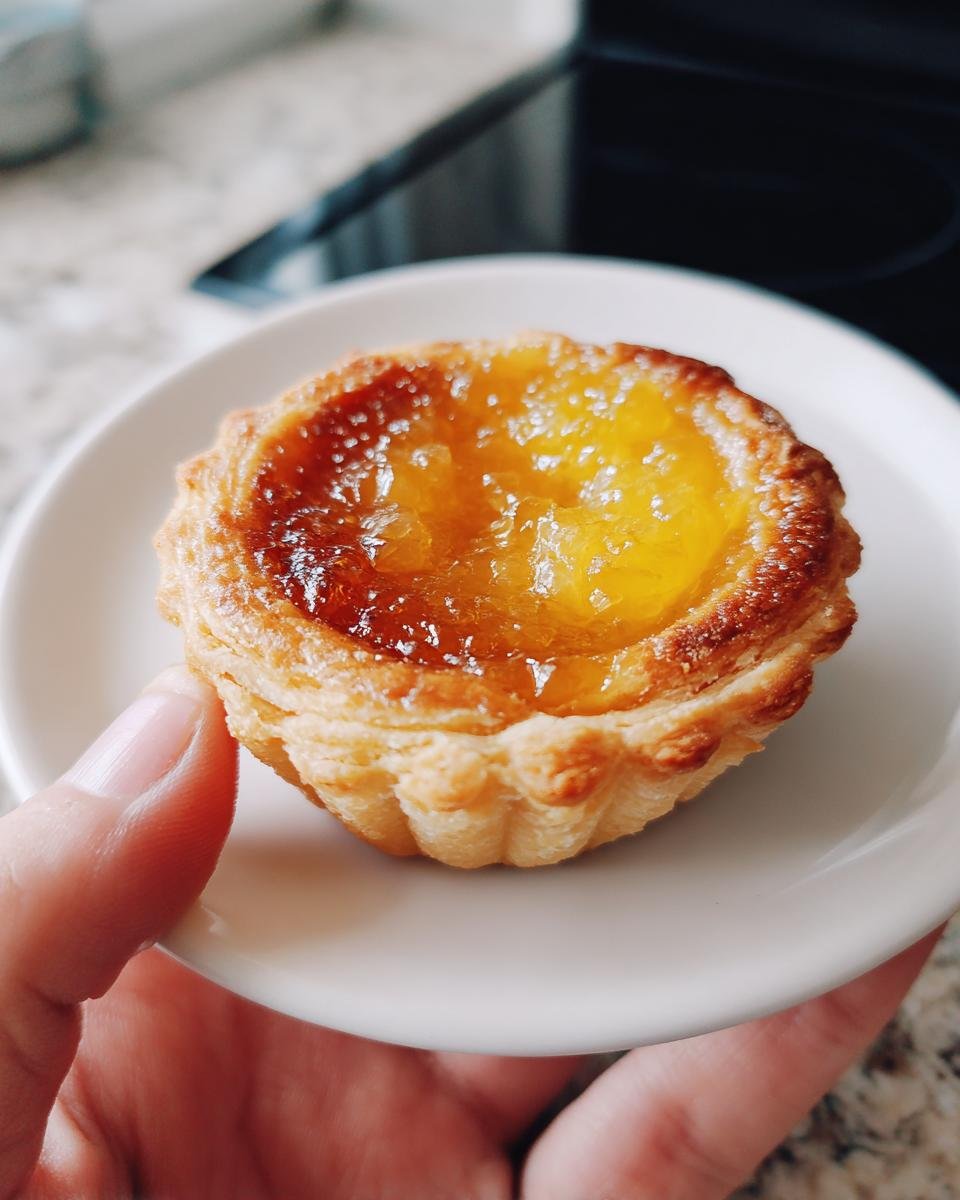
Okay, so why *these* pineapple jam tarts? Because they’re more than just a sweet treat; they’re a little bite of happiness! Trust me, once you make these at home, you’ll never look back. They’re super easy to whip up, look absolutely adorable, and taste even better. Plus, there’s just something so satisfying about pulling a batch of these golden beauties out of your own oven. They’re perfect for brightening a rainy day, impressing guests, or simply enjoying with a cup of tea. They really do hit all the right notes!
The Irresistible Charm of Pineapple Jam Tarts
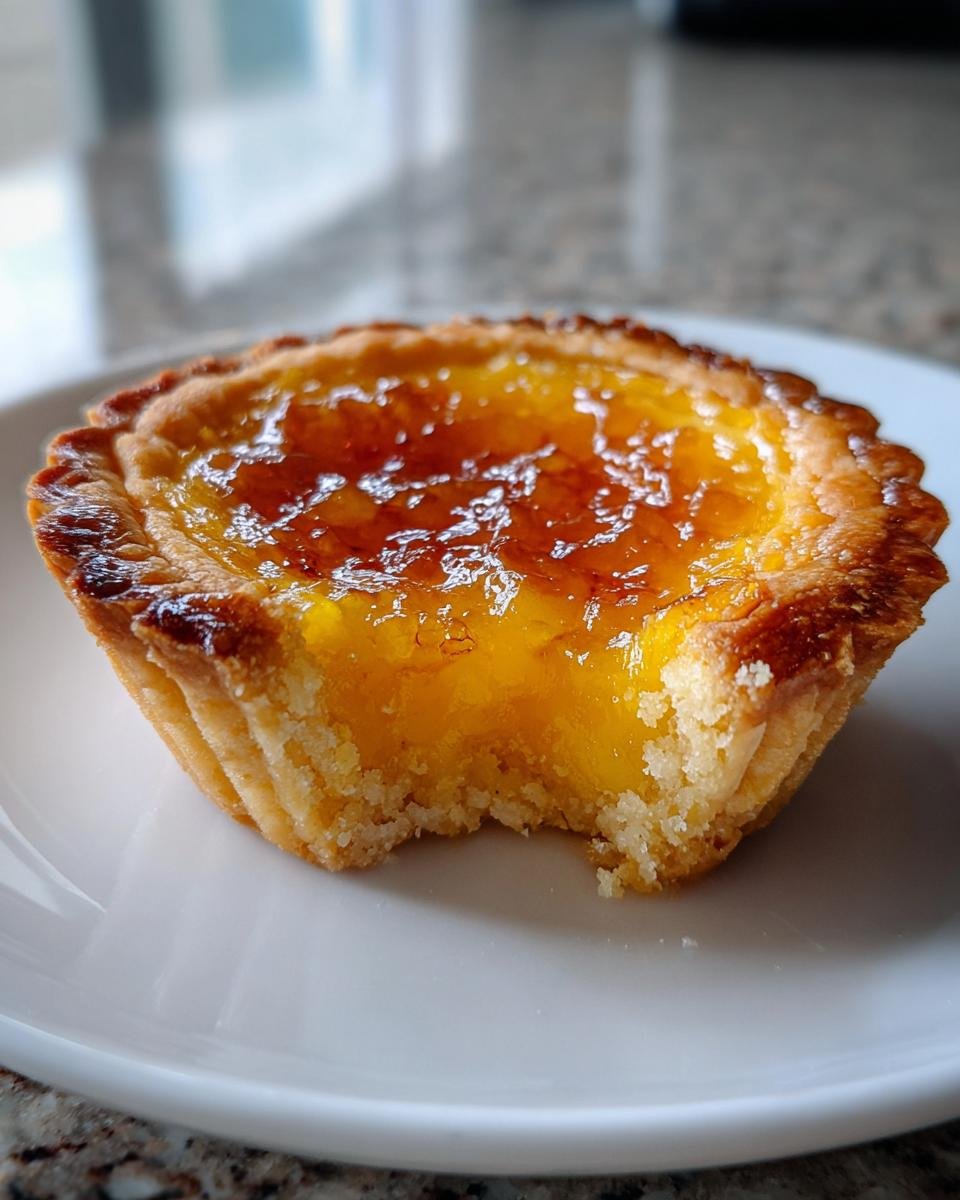
It’s that magical dance between the rich, buttery, tender crust and the bright, zesty, sweet pineapple jam. It’s a flavor explosion that’s perfectly balanced – not too sweet, not too tart, just pure deliciousness. Every bite is a little burst of sunshine!
Essential Gear for Perfect Pineapple Jam Tarts
You don’t need a fancy kitchen full of gadgets to make these pineapple jam tarts, but having a few key pieces of equipment will definitely make your life easier! We’re talking simple stuff, things you probably already have. A good mixing bowl, a pastry blender (or just your fingertips!), and a mini muffin tin are really the stars of the show here. Oh, and a rolling pin, of course!
Crafting Your Own Delicious Pineapple Jam Tarts
Alright, let’s talk ingredients! This is where the magic truly begins for our pineapple jam tarts. Don’t worry, nothing too wild or hard to find here. We’re keeping it simple and classic, just like your favorite comfort food. The key is to use good quality stuff, especially for that pineapple jam – it really makes all the difference, promise!
Think of these ingredients as the building blocks for your little edible masterpieces. Each one plays a crucial role in creating that perfect balance of flaky crust and sweet, tangy filling that we all crave. So, grab your shopping list, and let’s get ready to bake some serious deliciousness!
Ingredients for Authentic Pineapple Jam Tarts
- 2 cups all-purpose flour: This is our base, giving us that lovely, tender crust.
- 1/2 cup unsalted butter, cold and cubed: Cold butter is *essential* for a flaky pastry. Don’t skip the cubing step!
- 1/4 cup granulated sugar: Just enough sweetness for the dough without overpowering the jam.
- 1 large egg yolk: This adds richness and helps bind our dough together beautifully.
- 2-3 tablespoons ice water: The “ice” part is important! It keeps the butter cold and helps with flakiness. You might not need all of it.
- 1 cup pineapple jam: And here’s our star! Choose a good quality, thick pineapple jam. Trust me, it’s worth it!
Step-by-Step Guide to Making Pineapple Jam Tarts
Okay, now for the fun part: actually making these glorious pineapple jam tarts! Don’t be intimidated; I’m going to walk you through every single step, just like I would if we were baking together in my kitchen. We’ll start with that beautiful, flaky dough, then move on to filling and baking these little gems. Just follow along, and you’ll have a tray of delicious tarts in no time!
Remember, baking is about enjoying the process, too. Don’t stress too much about perfection on your first try. The most important thing is to have fun and make something delicious. Ready? Let’s get our hands a little floury!
Mastering the Dough for Your Pineapple Jam Tarts
First things first, that dough! This is where the magic of a flaky crust begins. Grab a big bowl and toss in your flour, those cold butter cubes, and the granulated sugar. Now, you can use a pastry blender here, but my favorite way is to just use my fingertips. Work that butter into the flour mixture until it looks like coarse crumbs, almost like wet sand. You want some pea-sized pieces of butter still visible – that’s what gives you flakiness!
Next, add your egg yolk and start with just 2 tablespoons of ice water. Mix it gently until the dough just starts to come together. If it’s still too crumbly, add the remaining ice water, one teaspoon at a time, until it forms a cohesive ball. Be careful not to overmix! Once it’s a ball, flatten it into a disk, wrap it snugly in plastic wrap, and pop it in the fridge for at least 30 minutes. This chilling time is super important for an easy-to-handle, tender dough.
Assembling and Baking Your Pineapple Jam Tarts
While your dough is chilling, go ahead and preheat your oven to 375°F (190°C). And don’t forget to lightly grease your mini muffin tin – we want those tarts to pop right out! Once the dough is nicely chilled, pull it out and lightly flour your work surface. Roll out the dough to about 1/8-inch thickness. You want it thin enough to be delicate but not so thin that it tears easily.
Now for the fun part: cutting! Grab your 2-inch cookie cutter and cut out as many circles as you can. Gently press each dough circle into the prepared muffin tin cups. Don’t worry if they’re not perfectly round; homemade charm is the best kind of charm! Then, spoon about 1 teaspoon of your delicious pineapple jam into each little dough cup. Try not to overfill, or it might bubble over.
Pop your filled muffin tin into the preheated oven and bake for about 15-20 minutes. Keep an eye on them! You’re looking for that beautiful golden-brown color on the crust. Once they’re golden, take them out and let them cool in the tin for a few minutes before carefully transferring them to a wire rack to cool completely. And trust me, the smell filling your kitchen right now is absolutely divine!
Expert Tips for Flawless Pineapple Jam Tarts
Okay, so you’ve got the basic steps down, but let me share a few little secrets that’ll take your pineapple jam tarts from “good” to “OMG, these are amazing!” Trust me, these aren’t just random tips; they’re things I’ve learned through countless batches (and a few oopsie moments!). First, always, always use cold butter for your pastry. It’s the non-negotiable key to flakiness. If your kitchen is warm, you can even pop your flour in the freezer for 10 minutes before you start. Also, don’t be afraid to add a tiny bit more ice water if your dough feels too dry – just a teaspoon at a time until it comes together. And remember, less is more when it comes to mixing the dough; overworking it makes for tough tarts, and nobody wants that!
Achieving Golden Pineapple Jam Tarts
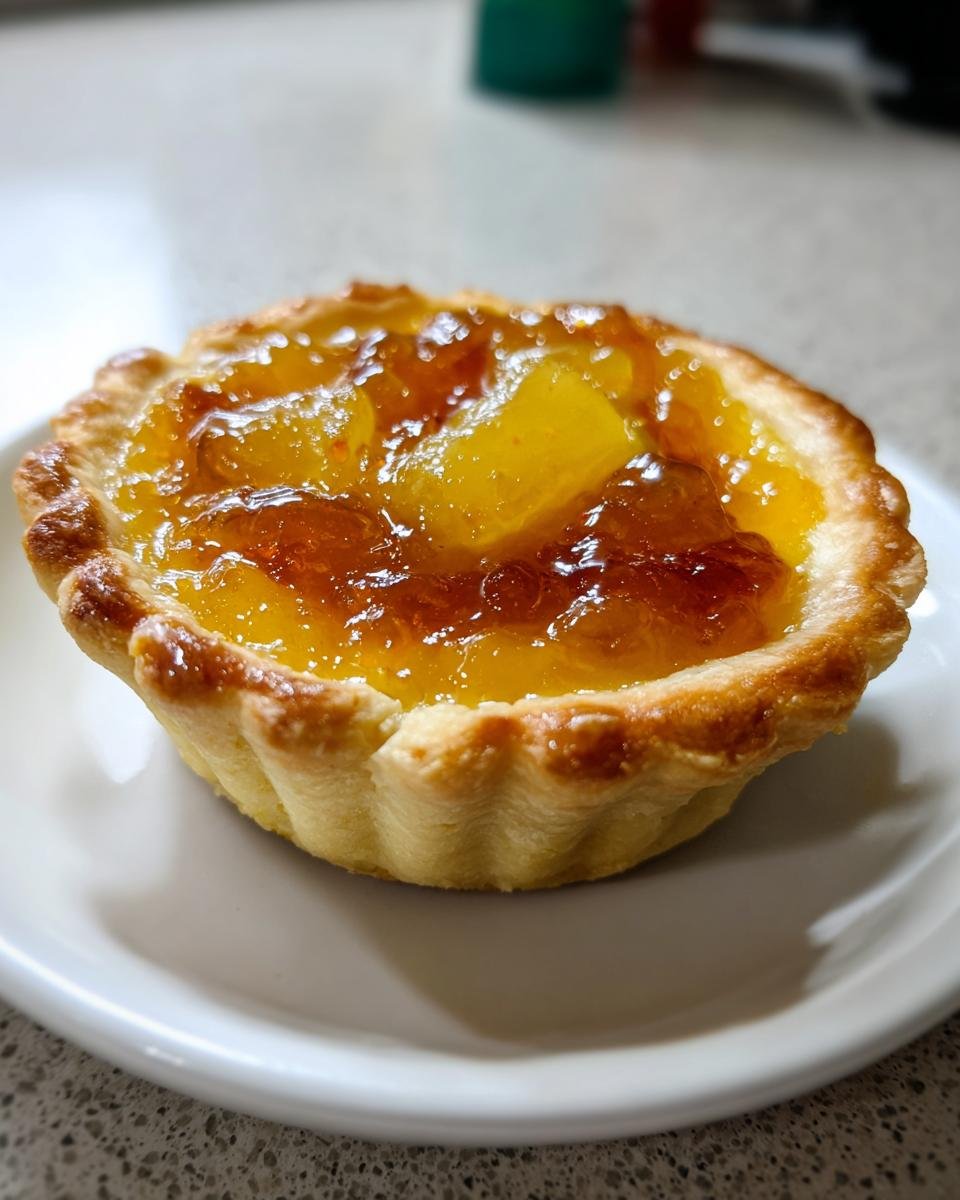
When it comes to baking, keep a close eye on those tarts! Every oven is a little different, so while 15-20 minutes is a good guide, yours might need a minute more or less. You’re looking for that beautiful, even golden-brown color on the crust. That’s your cue! If the jam starts bubbling up too much, they’re probably done. Don’t pull them out too early, or the crust won’t be fully cooked through.
Frequently Asked Questions About Pineapple Jam Tarts
I get a lot of questions about these pineapple jam tarts, and I love answering them! It means you’re just as excited about these little treats as I am. Here are some of the most common things people ask me when they’re whipping up a batch of these delicious tarts.
Can I Make Pineapple Jam Tarts Ahead of Time?
Oh, absolutely! This is one of my favorite things about this recipe. You can totally make the dough ahead of time. Just follow the instructions for making the dough, form it into a disk, wrap it up super tight in plastic wrap, and pop it in the fridge. It’ll be happy there for up to 2 days. When you’re ready to bake, just pull it out, let it warm up a tiny bit on the counter (just enough so it’s not rock hard, maybe 10-15 minutes), and then roll it out. Easy peasy! You can also bake the tarts completely and store them in an airtight container at room temperature for up to 3 days, though I find they’re best enjoyed the day they’re made.
What Kind of Jam Works Best for Pineapple Jam Tarts?
For these specific pineapple jam tarts, a good quality, slightly thick pineapple jam is truly the star. It gives you that authentic, tangy-sweet flavor. I always recommend using one you really love the taste of, since it’s such a prominent part of the tart. But hey, I’m all for experimenting! While it won’t be a “pineapple jam tart” anymore, you could definitely try other fruit jams if you’re feeling adventurous. Apricot jam would be lovely, or even a mixed berry jam for a different twist. Just make sure the jam isn’t too runny, or it might bubble over and make a mess in your muffin tin. A thicker jam works best here!
Storing and Enjoying Your Pineapple Jam Tarts
So, you’ve baked a batch (or two!) of these amazing pineapple jam tarts, and now you’re wondering how to keep them fresh, right? Good question! While they are absolutely, hands-down, without a doubt, best enjoyed the day they’re made (when that crust is just perfectly crisp!), they do store pretty well. Just pop any leftovers into an airtight container at room temperature. They’ll be perfectly delicious for up to 3 days. I wouldn’t recommend refrigerating them, as that can sometimes make the crust a bit soft.
As for enjoying them, well, that’s the easiest part! They’re fantastic as a little afternoon pick-me-up with your coffee or tea. Or, if you’re feeling fancy, warm one up for a few seconds in the microwave to get that jam gooey again, and maybe even add a tiny dollop of whipped cream or a scoop of vanilla ice cream. Pure bliss, I tell ya!
Nutritional Information
Just a quick note on nutrition for these pineapple jam tarts! The values you see in the recipe are estimates, and they can totally change depending on the specific brands of ingredients you use. Things like the type of flour or the particular jam can make a difference. So, think of it as a general guide, not a precise calculation, okay?
Share Your Pineapple Jam Tarts Creations!
Well, there you have it! Your very own batch of irresistible pineapple jam tarts. I absolutely *love* seeing what you create in your kitchens, so please, please, please don’t be shy! Did you try a different jam? Did you get that perfect golden crust? I want to know!
Leave a comment below and tell me how your tarts turned out. You can even rate the recipe! And if you share your beautiful creations on social media, be sure to tag me. Let’s build a little community of pineapple jam tart lovers!
Print
Pineapple Jam Tarts: 1 Bite of Pure Bliss
- Total Time: 65 minutes
- Yield: 24 tarts 1x
- Diet: Vegetarian
Description
These pineapple jam tarts are a delightful treat, featuring a buttery crust and a sweet, tangy pineapple filling. Perfect for any occasion.
Ingredients
- 2 cups all-purpose flour
- 1/2 cup unsalted butter, cold and cubed
- 1/4 cup granulated sugar
- 1 large egg yolk
- 2–3 tablespoons ice water
- 1 cup pineapple jam
Instructions
- In a large bowl, combine flour, cold butter, and sugar. Cut in butter with a pastry blender or your fingertips until mixture resembles coarse crumbs.
- Add egg yolk and 2 tablespoons of ice water. Mix until dough just comes together. If needed, add remaining ice water, 1 teaspoon at a time.
- Form dough into a disk, wrap in plastic, and refrigerate for 30 minutes.
- Preheat oven to 375°F (190°C). Lightly grease a mini muffin tin.
- On a lightly floured surface, roll out dough to 1/8-inch thickness. Cut out circles using a 2-inch cookie cutter.
- Press each dough circle into the prepared muffin tin. Fill each tart shell with about 1 teaspoon of pineapple jam.
- Bake for 15-20 minutes, or until crust is golden brown.
- Let cool in the tin for a few minutes before transferring to a wire rack to cool completely.
Notes
- For best results, use good quality pineapple jam.
- You can make the dough ahead of time and store it in the refrigerator for up to 2 days.
- These tarts are best enjoyed the day they are made, but can be stored in an airtight container at room temperature for up to 3 days.
- Prep Time: 45 minutes
- Cook Time: 20 minutes
- Category: Dessert
- Method: Baking
- Cuisine: Malaysian
Nutrition
- Serving Size: 1 tart
- Calories: 120
- Sugar: 10g
- Sodium: 20mg
- Fat: 6g
- Saturated Fat: 3g
- Unsaturated Fat: 2g
- Trans Fat: 0g
- Carbohydrates: 15g
- Fiber: 1g
- Protein: 1g
- Cholesterol: 15mg
Keywords: pineapple, jam, tarts, dessert, baking, sweet, pastry